Discover the world of UV nail gel and uncover the secrets to achieving flawless, long-lasting manicures. UV nail gel has become a game-changer in the beauty industry, offering an array of benefits that traditional nail polish simply can't match. But what exactly is UV nail gel? How does it work, and why should you consider making the switch? In this comprehensive guide, we'll delve into the fascinating world of UV nail gel, exploring its origins, application techniques, and maintenance tips. Whether you're a nail enthusiast looking to elevate your at-home manicures or a salon professional seeking to expand your services, this article will equip you with all the knowledge you need to unlock the secrets of UV nail gel. Get ready to say goodbye to chipped nails and hello to a flawless, long-lasting shine that will leave everyone asking, "Where did you get your nails done?"
The Difference Between UV Nail Gel and Regular Nail Polish
When it comes to achieving a long-lasting manicure, there's no doubt that UV nail gel reigns supreme. Unlike regular nail polish, which is air-dried and prone to chipping, UV nail gel is cured under a UV or LED lamp, resulting in a durable and chip-resistant finish. This curing process creates a chemical bond between the gel and the natural nail, ensuring that your manicure lasts for weeks without losing its shine or integrity.
Another key difference between UV nail gel and regular nail polish lies in their respective formulas. UV nail gel is typically made up of a combination of gel polymers and monomers, while regular nail polish relies on solvents that evaporate to dry. This difference in formulation is what gives UV nail gel its superior durability and longevity.
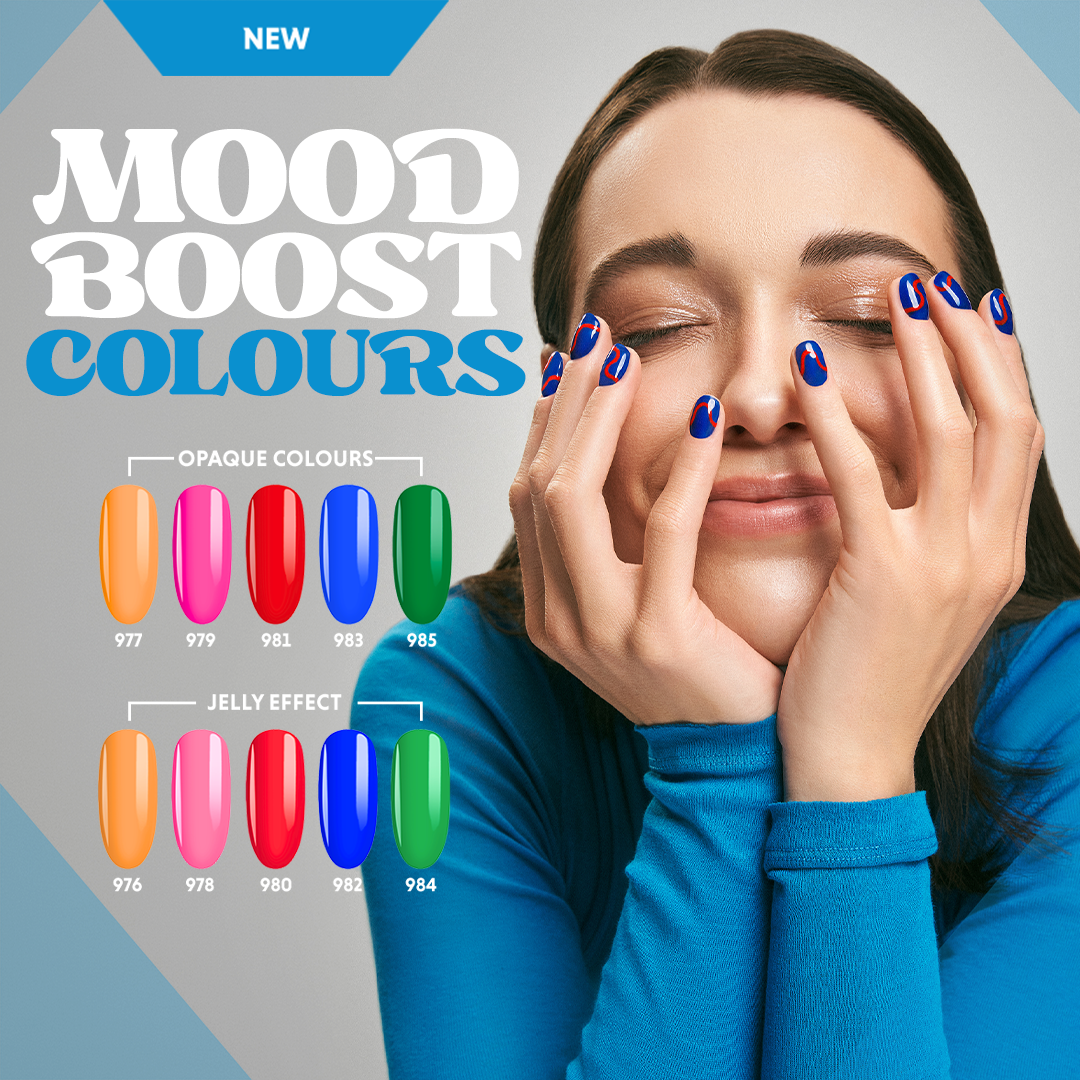
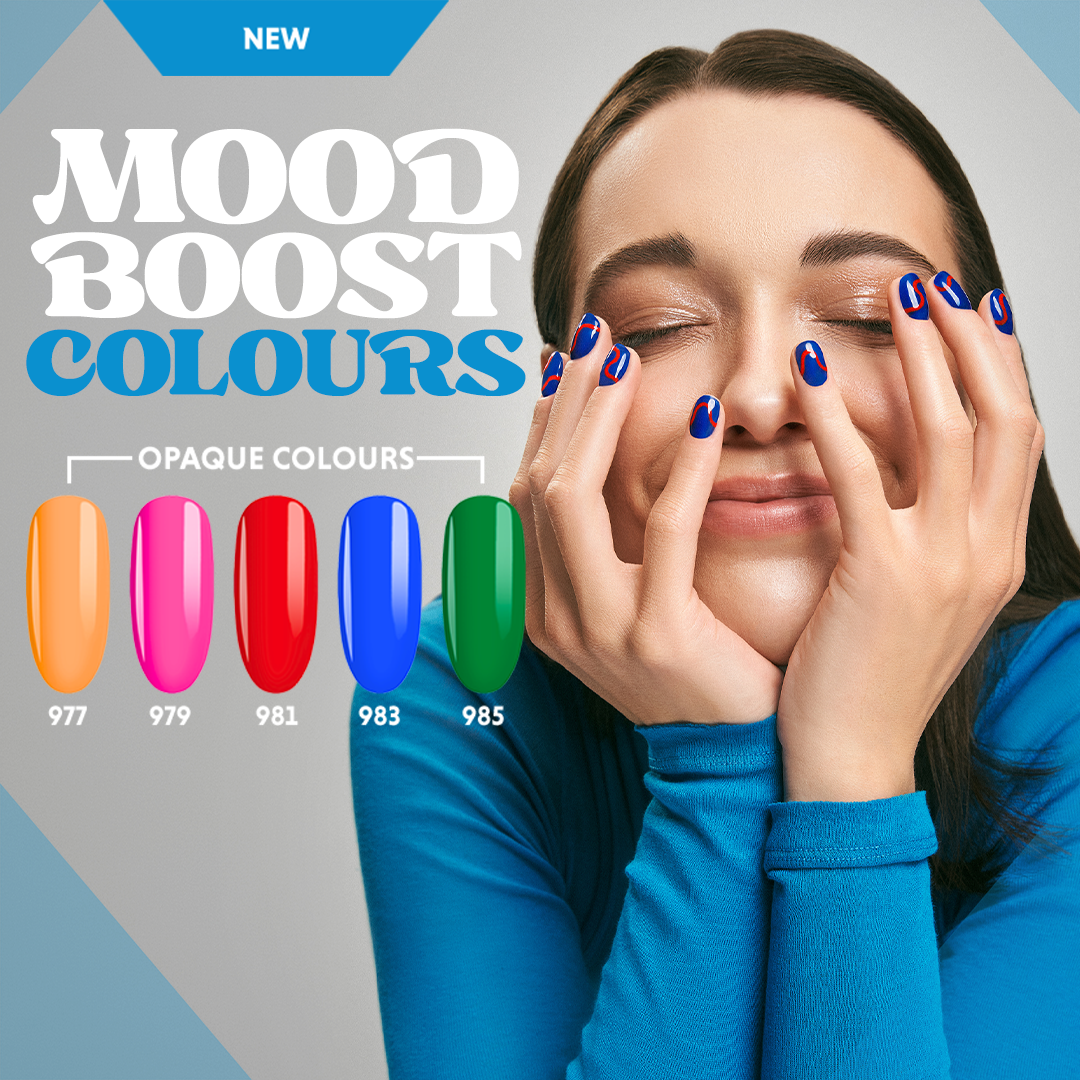
Not only does UV nail gel last longer than regular nail polish, but it also offers a wider range of colour options and finishes. From glossy to matte, metallic to glitter, you can find a UV nail gel to suit every mood and occasion. With regular nail polish, you may find that the colour fades or chips within a few days, but with UV nail gel, you can enjoy vibrant and flawless nails for weeks on end.

Benefits of Using UV Nail Gel
One of the biggest advantages of using UV nail gel is its longevity. Traditional nail polish can chip within a few days, especially if you're constantly using your hands or exposing your nails to water. UV nail gel, on the other hand, is designed to withstand everyday activities without losing its shine or integrity. Whether you're typing away at a keyboard, doing household chores, or even swimming, your UV nail gel manicure will stay intact and beautiful.
In addition to its durability, UV nail gel also offers a high-gloss finish that is difficult to achieve with regular nail polish. The gel formula creates a smooth and shiny surface that gives your nails a professional salon look. This glossy finish not only enhances the overall appearance of your manicure but also adds a touch of sophistication to your style.
Another benefit of using UV nail gel is its ability to strengthen and protect your natural nails. The UV gel formula provides an extra layer of protection, acting as a shield against everyday wear and tear. This can be especially beneficial for those with weak or brittle nails, as it helps to prevent breakage and promotes healthy nail growth.

Types of UV Nail Gel - Hard Gel, Soft Gel, and Soak-Off Gel
When it comes to UV nail gel, there are three main types to choose from: hard gel, soft gel, and soak-off gel. Each type has its own unique characteristics and application techniques, so let's take a closer look at what sets them apart.
- Hard Gel: Hard gel is the most durable and rigid type of UV nail gel. It is typically used to build extensions or overlays, adding length and strength to the natural nails. Hard gel requires a longer curing time under a UV or LED lamp and should be filed and shaped to achieve the desired look. Once cured, hard gel creates a solid and stable surface that can withstand daily activities without breaking or chipping.
- Soft Gel: Soft gel, also known as soak-off gel, is a more flexible type of UV nail gel that is often used for gel manicures. Unlike hard gel, soft gel does not require filing or shaping as it is applied directly to the natural nails. Soft gel is cured under a UV or LED lamp and can be easily removed by soaking the nails in acetone. This makes it a popular choice for those who prefer to change their nail colour frequently.
- Soak-Off Gel: Soak-off gel is a type of soft gel that can be easily removed by soaking the nails in acetone. It is ideal for those who want the benefits of UV gel nails without the commitment. Soak-off gel is applied in the same way as soft gel and offers a wide range of colours and finishes to choose from. Whether you're looking for a classic nude or a bold statement shade, soak-off gel has got you covered.
How to Apply UV Nail Gel at Home
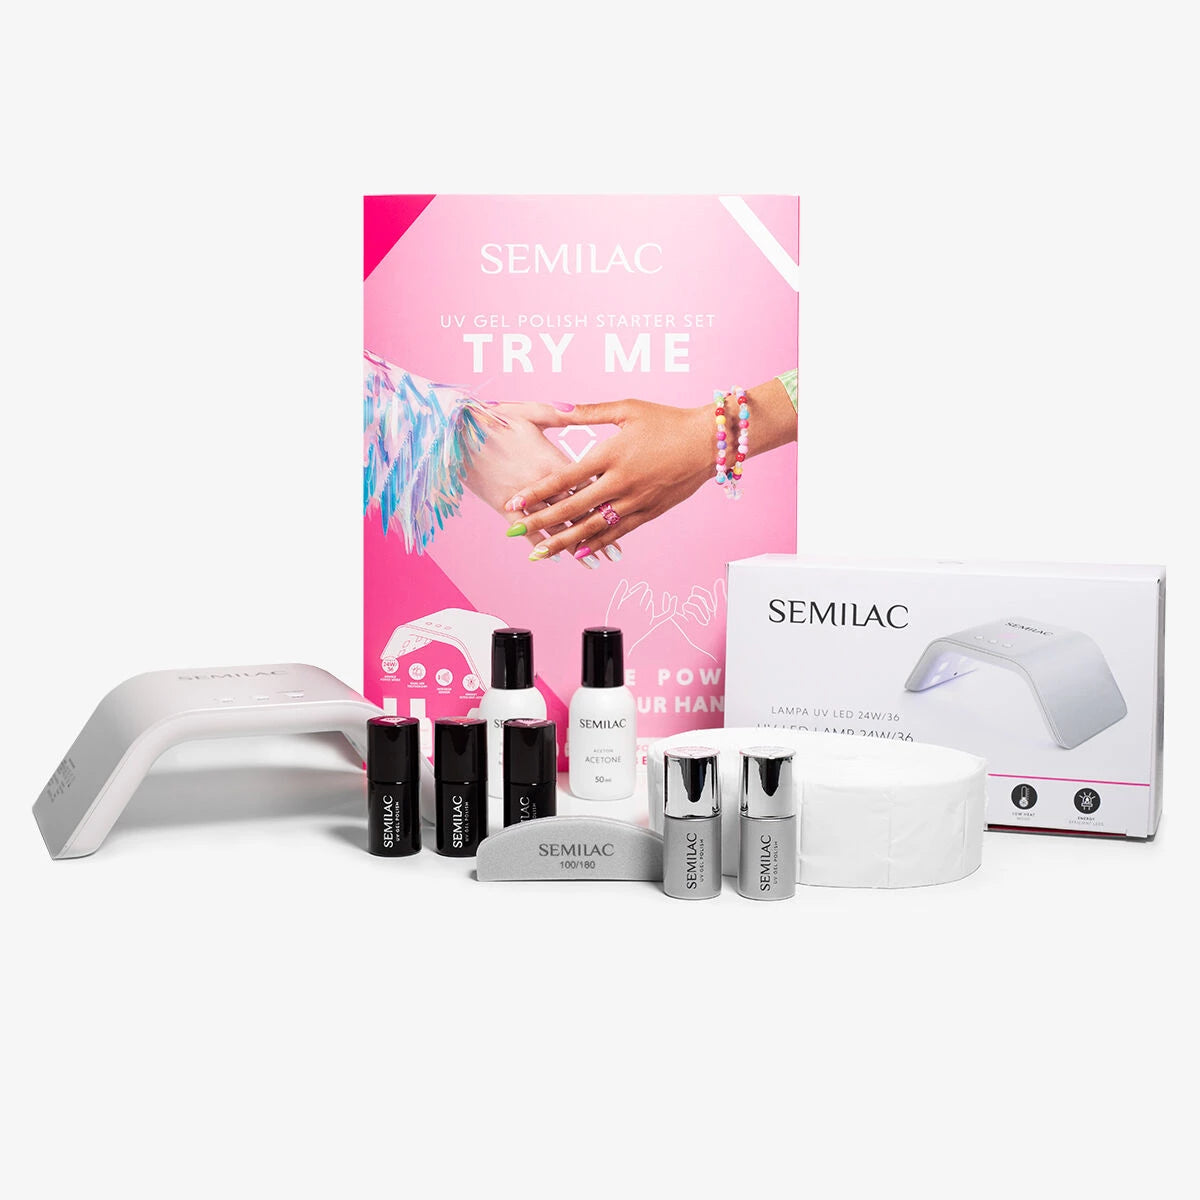
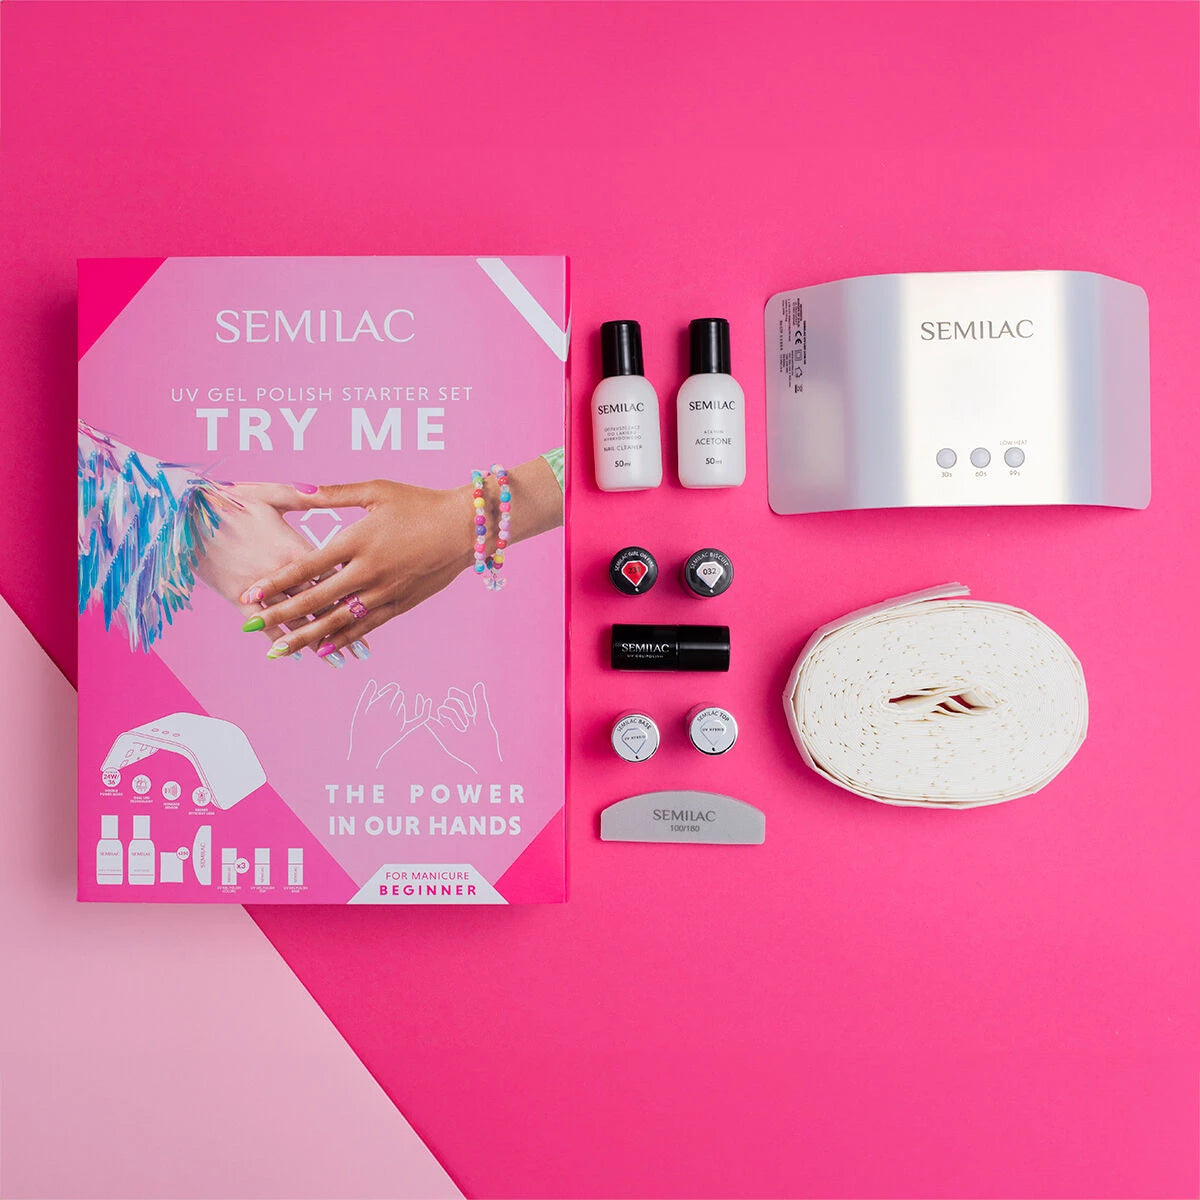
Applying UV nail gel at home may seem intimidating at first, but with the right tools and techniques, you can achieve salon-quality results in the comfort of your own home. Here's a step-by-step guide to help you get started:
- Prep Your Nails: Start by removing any existing nail polish and gently push back your cuticles. File and shape your nails to your desired length and finish by buffing the surface of your nails to create a smooth canvas.

-
Apply a Base Coat: Apply a thin layer of base coat to your nails, making sure to cover the entire surface. The base coat helps to create a smooth foundation for the UV gel polish and promotes better adhesion.

-
Cure Under a UV or LED Lamp: Place your nails under a UV or LED lamp and cure the base coat according to the manufacturer's instructions. This usually takes around 30-60 seconds, depending on the lamp's power.

-
Apply the UV Gel Polish: Apply a thin and even layer of UV gel polish to your nails, taking care to avoid the cuticles and skin. Make sure to cap the free edge of your nails to seal in the colour.

-
Cure Under a UV or LED Lamp: Place your nails under the lamp once again and cure the UV gel polish according to the manufacturer's instructions. This typically takes around 60-120 seconds, depending on the lamp's power and the brand of UV gel polish you're using.
-
Apply Additional Coats: If desired, you can apply additional coats of UV gel polish to achieve a more opaque colour. Just make sure to cure each layer under the lamp before applying the next.

-
Apply a Top Coat: Finish off your gel manicure by applying a thin layer of top coat to seal in the colour and add extra shine. Make sure to cap the free edge of your nails for long-lasting wear.

-
Cure Under a UV or LED Lamp: Place your nails under the lamp one final time and cure the top coat according to the manufacturer's instructions. This usually takes around 60-120 seconds, depending on the lamp's power.
By following these steps and practicing your technique, you'll soon become a pro at applying UV nail gel at home. Remember to take your time, be patient, and enjoy the process. With a little practice, you'll be able to achieve salon-quality results that will rival any professional manicure.
Tips for Achieving a Long-Lasting UV Nail Gel Manicure
Now that you've mastered the art of applying UV nail gel, it's important to know how to make your manicure last as long as possible. Follow these tips to ensure that your UV nail gel stays flawless and chip-free for weeks on end:
- Prep Your Nails Properly: Before applying UV nail gel, make sure to properly prep your nails by removing any oils or residue. Cleanse your nails with rubbing alcohol or a nail cleaner to ensure better adhesion.
- Thin Layers are Key: When applying UV gel polish, remember that thin layers are key to achieving a smooth and long-lasting finish. Thick layers can lead to uneven curing and a higher risk of chipping.
- Cap the Free Edge: To prevent premature chipping, make sure to cap the free edge of your nails with each layer of UV gel polish. This helps to seal in the colour and create a stronger bond between the gel and the natural nail.
- Avoid Overloading the Brush: When applying UV gel polish, avoid overloading the brush with too much product. This can lead to pooling and uneven application. Instead, wipe off any excess polish on the neck of the bottle before applying.
- Mind Your Curing Time: Be mindful of the curing time specified by the UV gel polish manufacturer. Curing for too long or too short can affect the durability and longevity of your manicure.
- Protect Your Nails: While UV nail gel is durable, it's still important to protect your nails from excessive wear and tear. Wear gloves when doing household chores, avoid using your nails as tools, and moisturize your cuticles regularly to keep them healthy.
By following these tips, you can enjoy a long-lasting UV nail gel manicure that will keep your nails looking flawless and beautiful for weeks on end.

Common Mistakes to Avoid When Using UV Nail Gel
While UV nail gel is a great way to achieve a long-lasting and chip-free manicure, there are some common mistakes that can affect the durability and overall appearance of your nails. Here are a few mistakes to avoid when using UV nail gel:
- Skipping the Prep: Properly prepping your nails is essential for a long-lasting manicure. Skipping steps like removing oils or residue can affect the adhesion of the UV gel polish and lead to premature chipping.
- Applying Thick Layers: Applying thick layers of UV gel polish may seem like a time-saver, but it can actually lead to uneven curing and a higher risk of chipping. Remember to apply thin and even layers for a smooth and durable finish.
- Neglecting the Cuticles: When applying UV gel polish, make sure to avoid getting any product on your cuticles or skin. This can lead to lifting and peeling of the UV gel polish, compromising the longevity of your manicure.
- Not Capping the Free Edge: Capping the free edge of your nails with each layer of UV gel polish is essential for preventing premature chipping. This technique helps to seal in the colour and create a stronger bond between the gel and the natural nail.
- Skipping the Top Coat: Applying a top coat is an important step in the gel manicure process. The top coat adds an extra layer of protection and shine, ensuring that your manicure lasts longer and looks flawless.
By avoiding these common mistakes, you can ensure that your UV nail gel manicure stays intact and beautiful for weeks on end.
UV Nail Gel Trends and Designs
UV nail gel opens up a world of possibilities when it comes to nail art and design. From minimalist to intricate, there are endless options to express your personal style. Here are a few UV nail gel trends and designs to inspire your next manicure:
-
French Tips: The classic French manicure gets a modern twist with UV nail gel. Experiment with different colour combinations or add some sparkle to the tips for a glamorous look.

-
Ombre: Create a stunning gradient effect on your nails with an ombre design. Blend two or more colours together for a seamless transition from light to dark or vice versa.

-
Marble: Achieve a luxurious and sophisticated look with a marble design. Use UV gel polish in different shades and swirl them together to create a beautiful marble effect on your nails.

-
Negative Space: Embrace negative space with a minimalist design. Leave parts of your nails bare and add simple geometric shapes or lines for a modern and edgy look.

-
Glitter: Add some sparkle to your UV nail gel manicure with glitter. Whether you choose a full glitter nail or just an accent nail, glitter is sure to make a statement.

-
Floral: Bring some blooming beauty to your nails with floral designs. Use UV gel polish in various shades to create delicate flowers or bold floral patterns.

These are just a few of the many UV nail gel trends and designs that you can experiment with. Let your creativity soar and create a manicure that reflects your unique style.