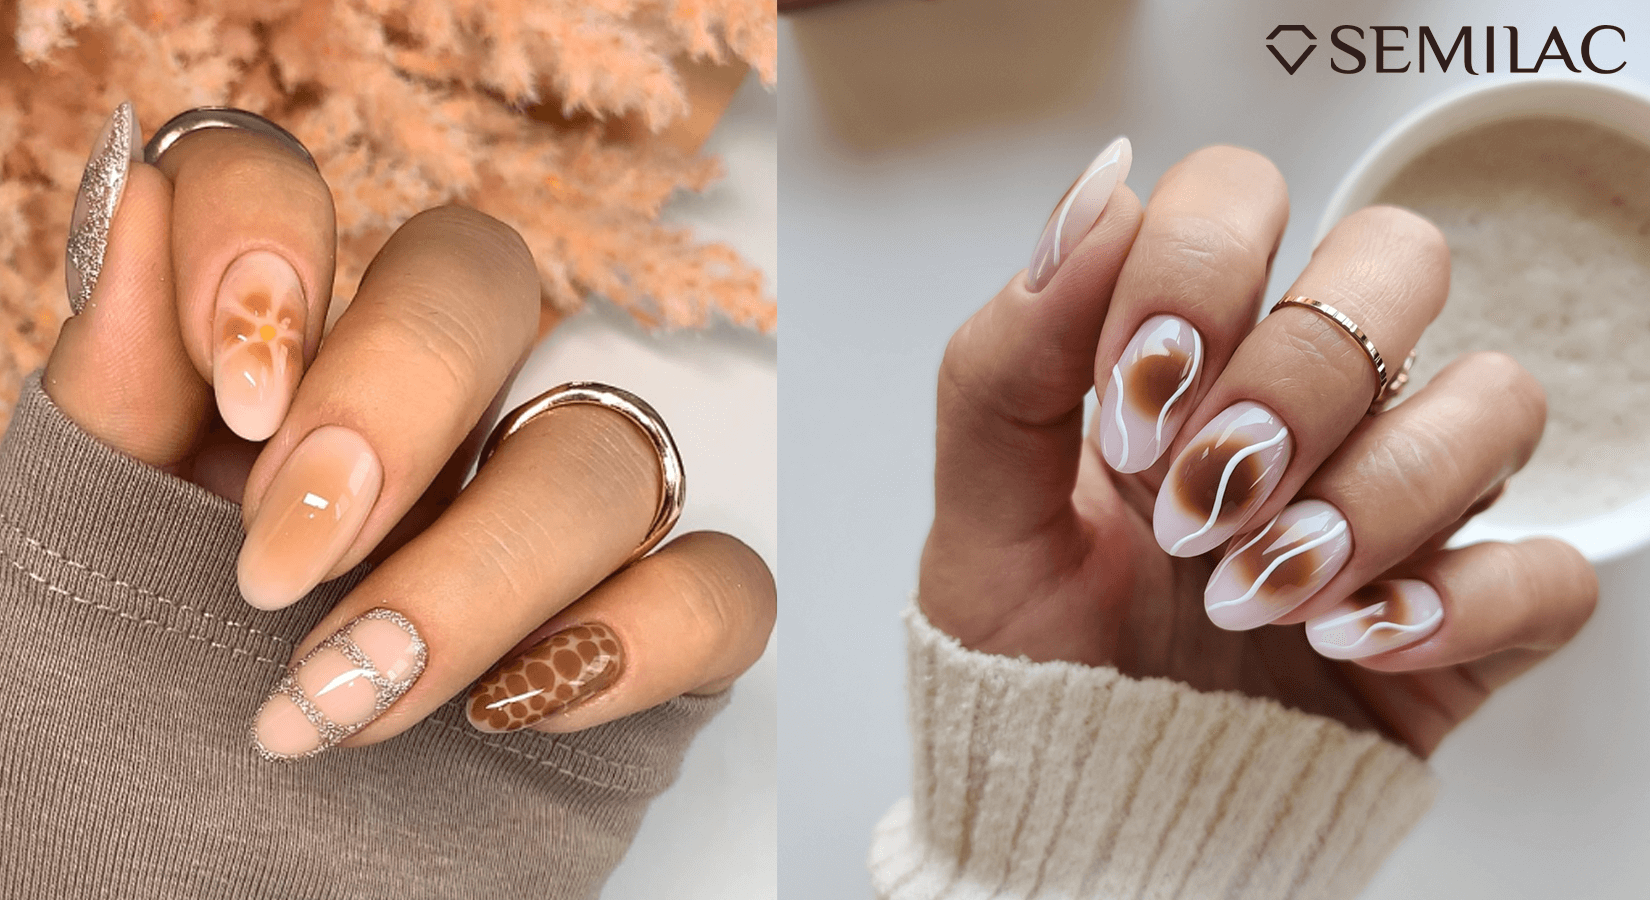
Aura Nails have become a hugely popular trend in manicures, captivating nail art lovers everywhere. Inspired by the idea of a person’s aura — the energy that surrounds them — this look blends soft colours to create a dreamy, gradient effect. The best part is that you can easily recreate this beautiful, personalised design at home. By experimenting with different shades and techniques, you can customise your Aura Nails to reflect your own unique energy and style.
What is Aura Nails?
The Aura Nails technique is inspired by the concept of an "aura," the energy that surrounds every person. Just as each person's aura is unique, these nails are designed to reflect your inner self and energy.
In terms of manicure, an aura is represented by soft pastel shades or monochrome colours, creating a blurred effect with optical depth. The trend was popularised by Dua Lipa, who chose a combination of pink and grey. However, you can select different colours based on your personal preferences and aura.

Who is this trend for?
The beauty of this trend lies in its versatility. Aura Nails work for everyone! This gradient style looks great on both light nails, enhanced with pastel accents, and darker shades, where the aura effect creates a sophisticated, mysterious vibe. This style is perfect for both summer manicures and pedicures.
How to Do Aura Nails Step by Step
What you’ll need:
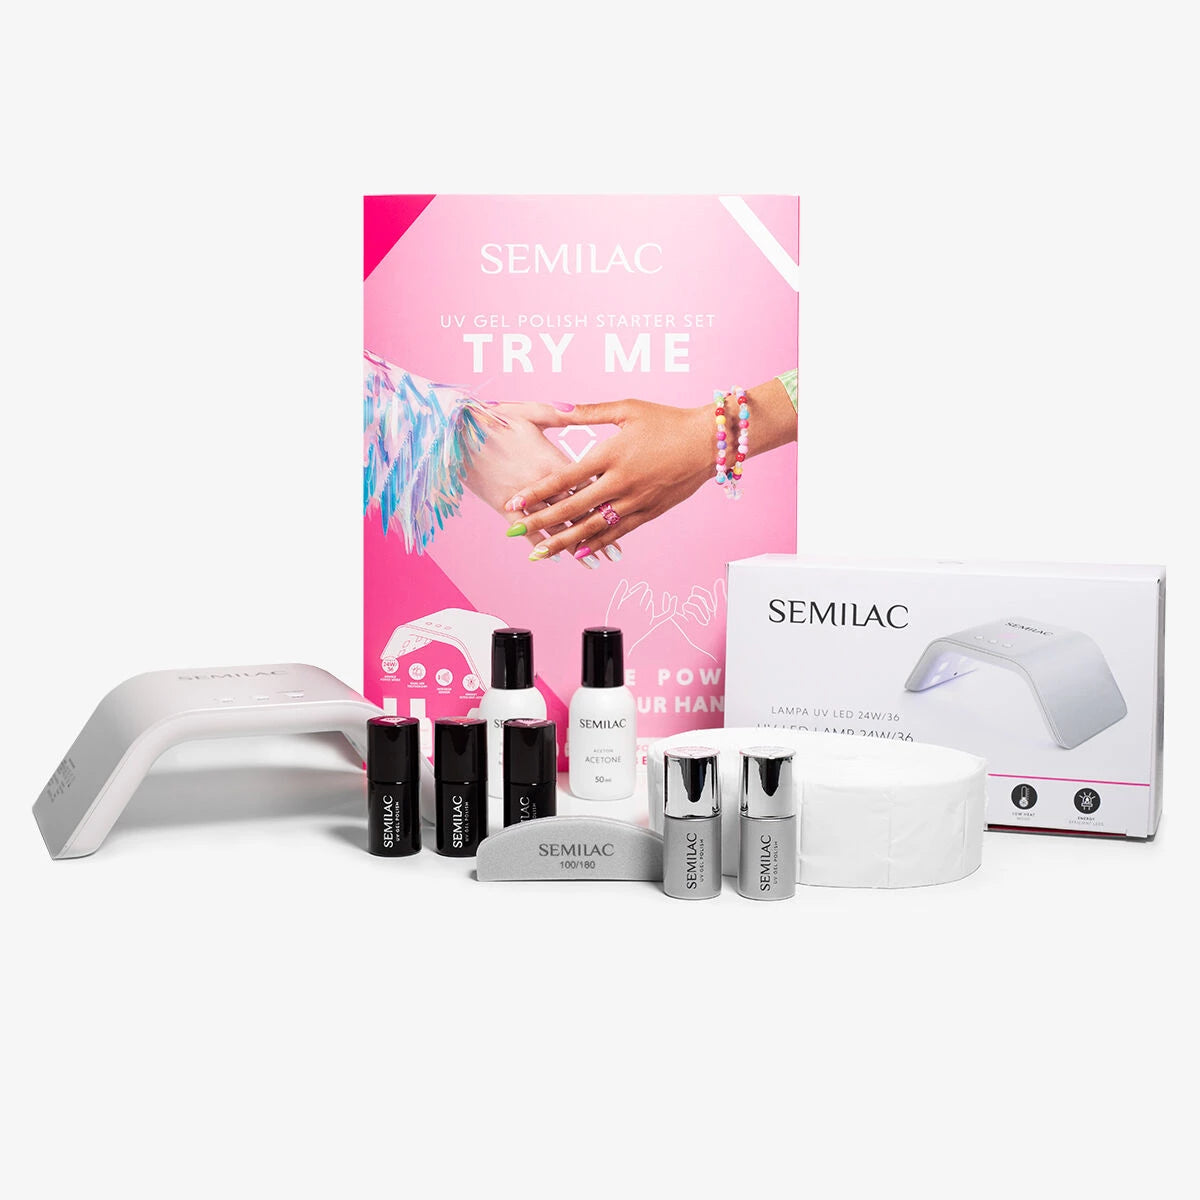
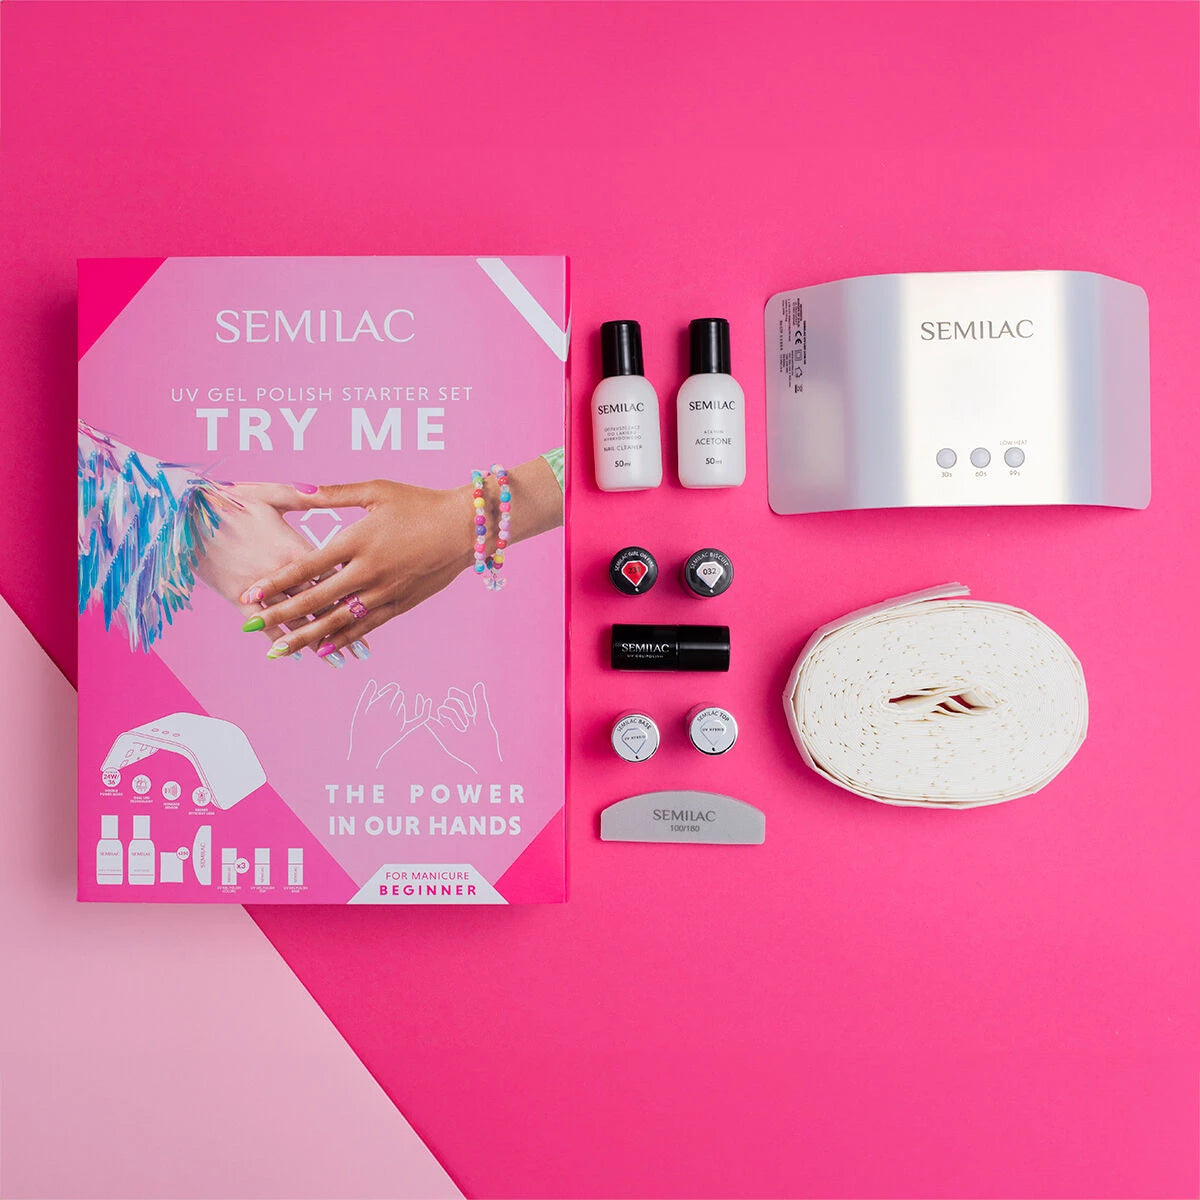
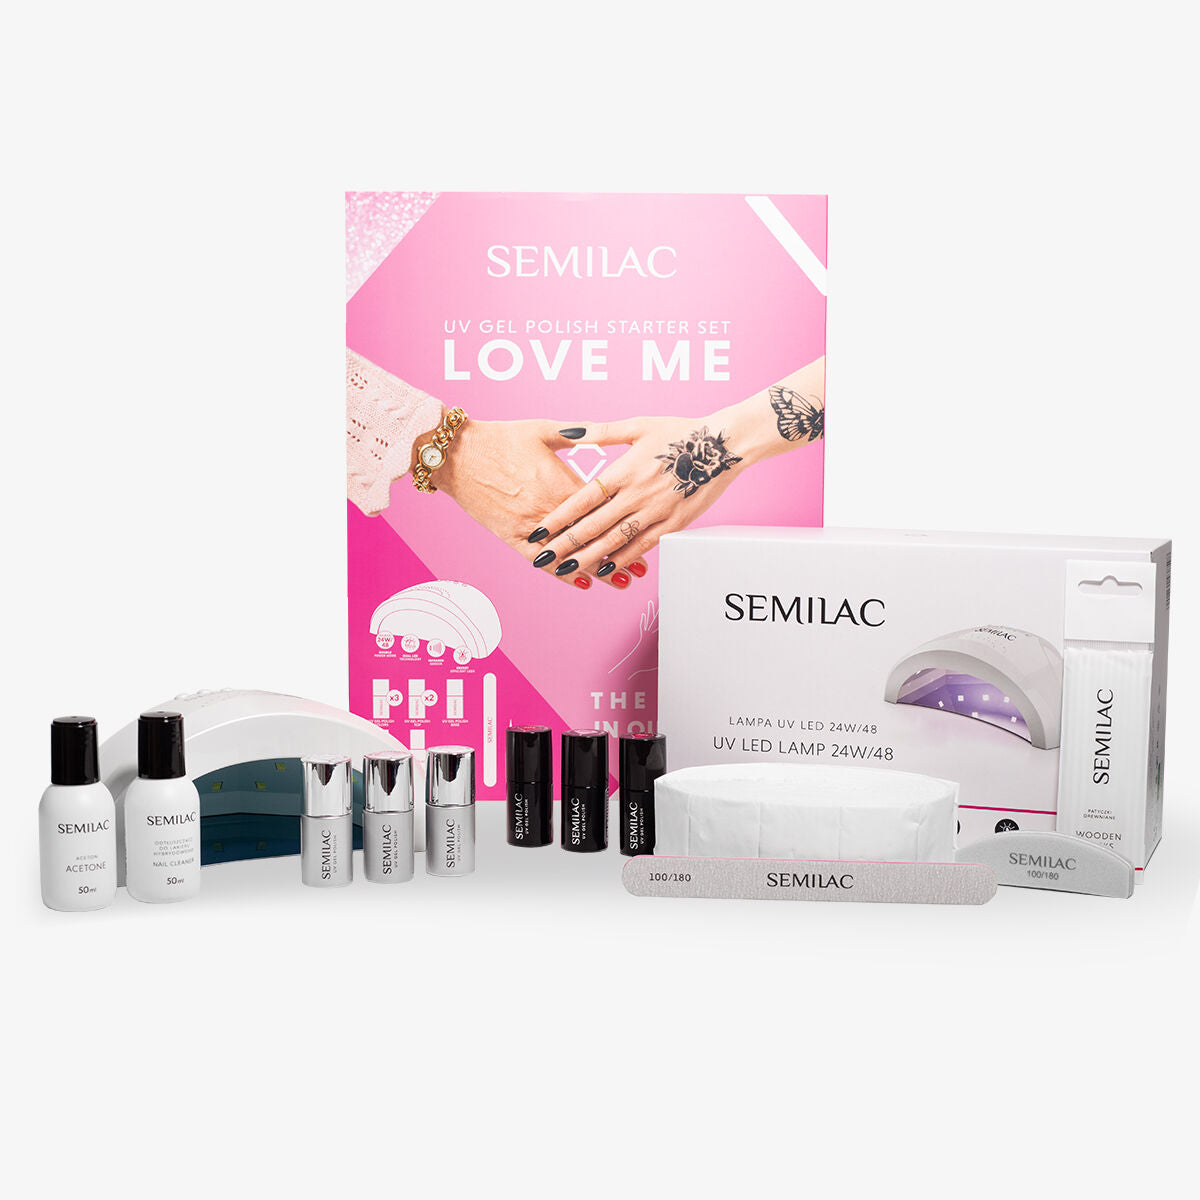
- UV gel polish in a base colour (e.g., white, beige, or dark shades)
- UV gel polish in pastel or dark shades for the aura effect (e.g., pink, blue, or purple)
- UV gel base and top coat
- Nail file and sanding block
- Cleaner
- Nail Art Brush
- LED/UV lamp
Step 1: Prepare Your Nails
Start by preparing your nails as usual: shape them, treat the cuticles, buff the surface, and clean the nail plate with a cleaner.
Step 2: Apply the Base
Apply your base coat. For a natural look, a nude base works well. You could also use a peach-toned base like the extend 5-in-1.
If you're using a coloured base, you can skip straight to the design stage. If you want to even out the nail plate with the base, cure the rebuilding layer in the lamp first, then apply another thin layer of base (don’t cure this layer yet). Sprinkle this uncured layer with clear acrylic powder for a textured surface, which helps with shading. Cure in the lamp and brush off any excess powder.
Step 3: Apply the Colours
Apply the first layer of your chosen base colour to the cured base (unless you’ve used a coloured base already). A light shade will create a perfect backdrop for the aura effect. Paint around the nail edges, near the cuticle, sides, and free edge, leaving the centre clear. Cure the polish in the lamp. If needed, apply a second coat for full coverage.
Now for the aura effect! Using a nail art brush, apply a second colour to the top of the nail for the aura. A wider brush like the Semilac Nail Art Brush Wide 02 is great for blending. Start with a drop of polish in the centre and blend the edges with the brush. Don’t use too much polish to ensure a smooth gradient.
Choose a darker shade than your base. Nude shades pair beautifully with warm colours like 543 Bon Voyage (orange) or bold red-orange like 570 Neon Watermelon. You can even combine both for a more striking effect!
Step 4: Set the Design
Before curing, add a bit more base to the centre and blend the colours again with your brush. Once you’re happy with the effect, sprinkle acrylic powder over the whole nail and cure in the lamp. Repeat the shading process and cure again. Finish with a top coat. You can experiment with different top coats for added effects!

Conclusion
Aura Nails are a fun, creative way to express your individuality through your manicure, giving you the freedom to experiment with a wide range of colours and styles. Whether you opt for soft pastels or bold, darker shades, this technique adds depth and personality to your nails, creating a unique and eye-catching design. The gradient effect not only brings a sense of freshness and elegance to your look but also allows you to personalise your manicure, making it a perfect reflection of your mood and style.

