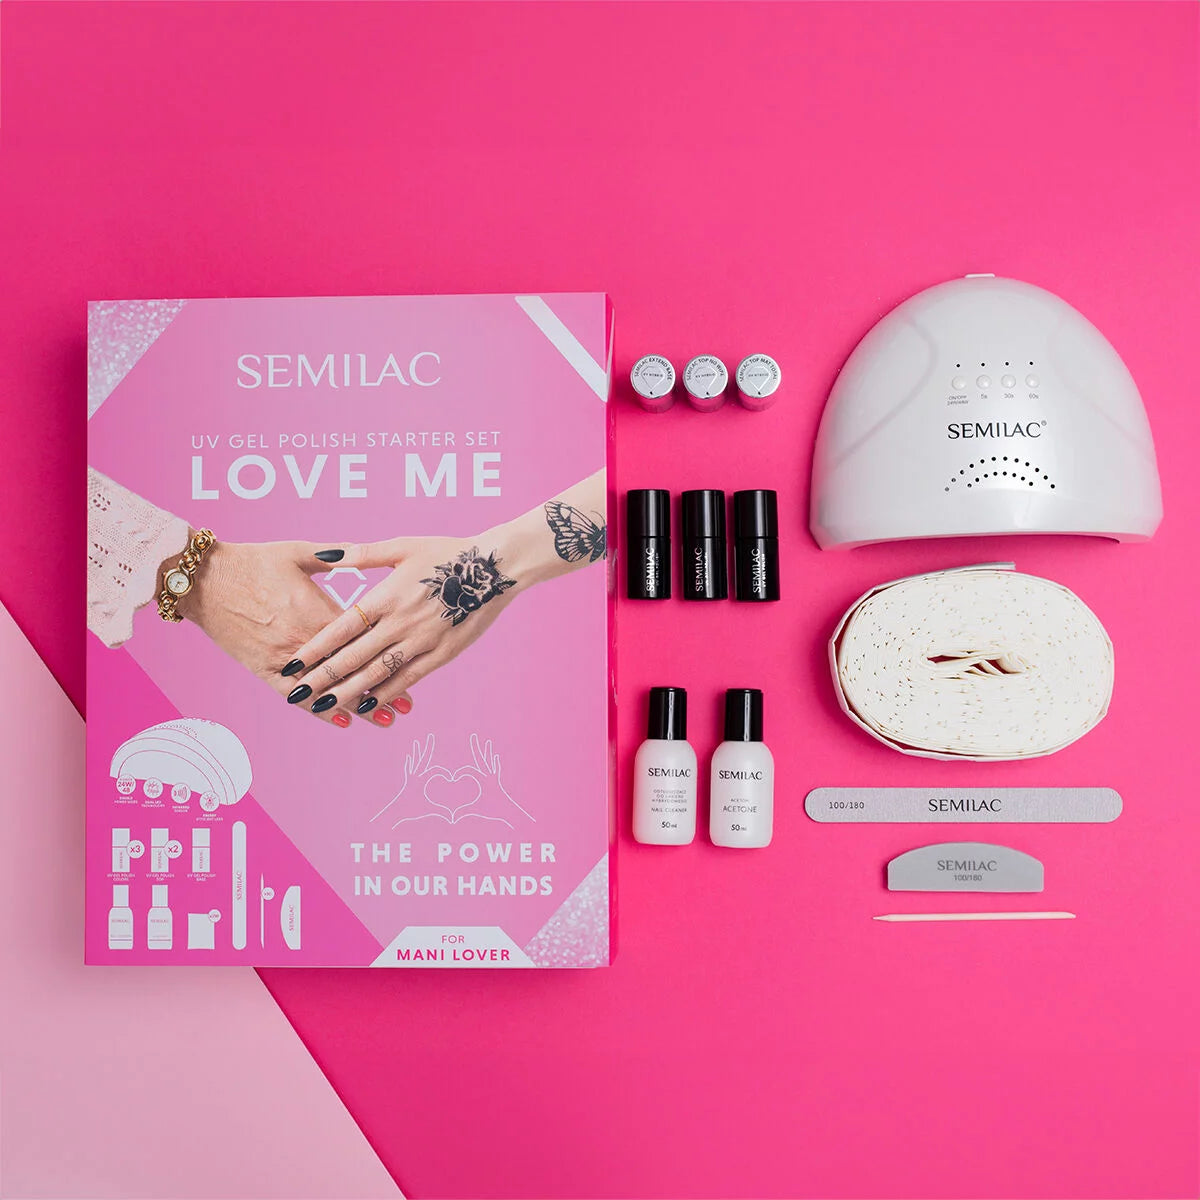
Removing UV gel from nails can be a meticulous task, requiring patience and the right techniques. Whether you prefer to do it manually or with the help of a nail drill, here is a comprehensive guide to ensure you can achieve a clean and damage-free removal process. UV gel manicures have become increasingly popular due to their durability and long-lasting shine. However, when it comes time for removal, it's essential to do it correctly to avoid damaging your natural nails. Whether you opt for manual removal or utilise a nail drill, here's what you need to know. Whether you choose the manual method or utilise a drill, the key is patience and proper care to maintain the health of your natural nails.
What is UV Gel?
UV gel is type of nail enhancements that are applied over natural nails to create a strong, glossy finish. UV gel is a light-cured product used in the beauty industry to create durable manicures. It's a popular choice for those seeking long-lasting nail treatments that withstand daily wear and tear.

Why Choose Manual Removal?
Manual removal is a gentler option that involves using acetone and tools such as a nail file and cuticle pusher. This method is preferred for those concerned about preserving the health of their natural nails. It allows for precise control and minimises the risk of over-filing or damaging the nail bed.
Manual Removal Step-by-Step Guide:
Materials Needed:
- Nail file (100/180 grit)
- Cuticle pusher or orange stick
- Cotton pads
- Aluminium foil
- Acetone
- Buffing block
- Cuticle oil
- Hand cream
Instruction:
-
File the Top Layer: Begin by using the nail file to gently file down the top layer of the UV gel. This helps to break the seal and allows the acetone to penetrate better. Be careful not to file too deeply, as this can damage the natural nail.
-
Soak Cotton Pads in Acetone: Cut the cotton pads into small pieces that can cover each nail. Soak them thoroughly in acetone.
-
Wrap Nails in Foil: Place the acetone-soaked cotton pads on your nails and wrap each finger in aluminium foil. This helps to keep the acetone in contact with the UV gel, aiding in its breakdown.
-
Wait: Allow your nails to soak for 15-20 minutes. This waiting period is crucial for the acetone to effectively soften the UV gel.
-
Remove Foil and Cotton Pads: Gently remove the foil and cotton pads. The UV gel should appear flaky and lifted.
-
Gently Push Off Residue: Use a cuticle pusher or orange stick to gently push off the softened UV gel. If it does not come off easily, rewrap and soak for a few more minutes.
-
Buff and Moisturise: Once all the UV gel is removed, use a buffing block to smooth the surface of your nails. Finish by applying cuticle oil and hand cream to nourish your nails and skin.

Why Choose Removal with a Nail Drill?
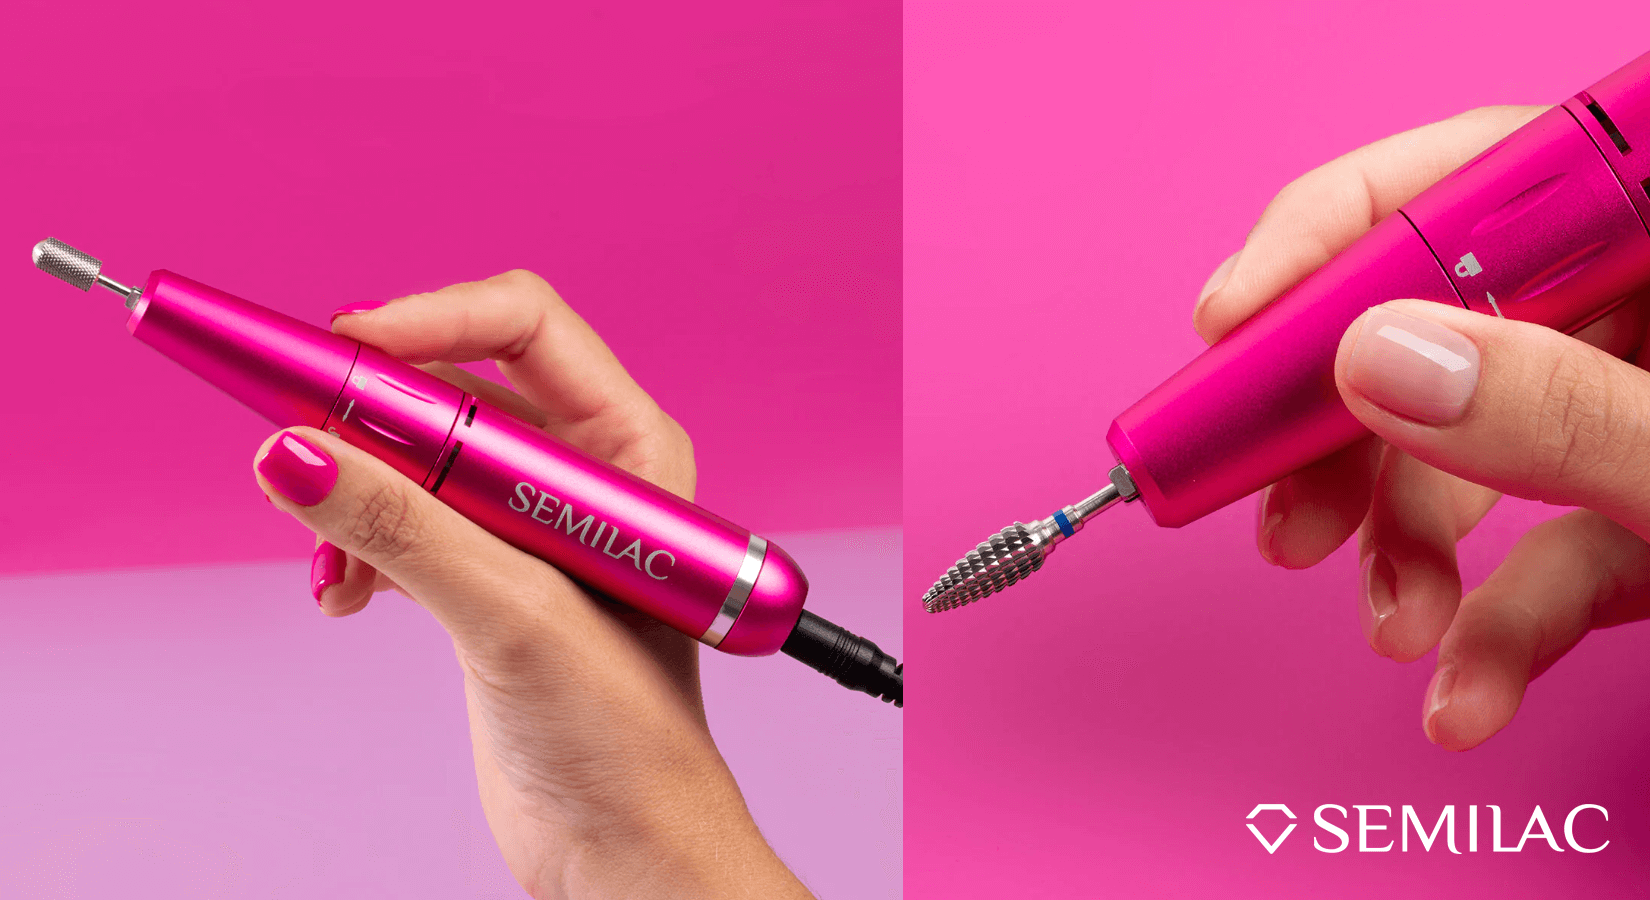
Using a nail drill can expedite the removal process, making it quicker and more efficient, especially for those with thicker or stubborn layers of UV gel. The drill's rotary motion helps to break down the product faster, reducing the overall removal time. However, it requires a steady hand and proper technique to avoid over-filing or causing discomfort.
Removal with a Nail Drill Step-by-Step Guide:
Materials Needed:
- Nail drill with various bits
- Cuticle pusher or orange stick
- Buffing block
- Cuticle oil
- Hand cream
Instruction:
-
Prepare the Nail Drill: Choose an appropriate drill bit, such as a coarse one for initial removal and a finer one for smoothing. Ensure your drill is fully charged or plugged in.
-
File the Top Layer: Similar to the manual method, start by using the nail drill to file down the top layer of the UV gel. Use the coarse bit for this purpose.
-
Remove Bulk of Material: Carefully use the nail drill to remove the bulk of the UV gel. Move the drill in gentle, even motions to avoid creating heat or damaging the natural nail.
-
Refine and Smooth: Switch to a finer bit to remove any remaining UV gel. This bit will help to smooth the surface and prepare it for the final steps.
-
Final Buffing: Once the UV gel is completely removed, use a buffing block to smooth out any rough areas and give your nails a polished look.
-
Nourish Your Nails: Finish by applying cuticle oil to moisturise the cuticle oil and hand cream to keep your hands soft and hydrated.

Tips for Both Methods
- Always work in a well-ventilated area, especially when using acetone.
- Be gentle throughout the process to avoid damaging your natural nails.
- Regularly moisturise your hands and nails to maintain their health and appearance.
- Consider giving your nails a break between manicures to allow them to recover and strengthen.
Conclusion
Ultimately, whether you choose manual removal or opt for a nail drill depends on your preference and comfort level. Both methods can achieve excellent results when done correctly. It's essential to take your time, follow the proper steps, and prioritise the health of your natural nails throughout the removal process.

