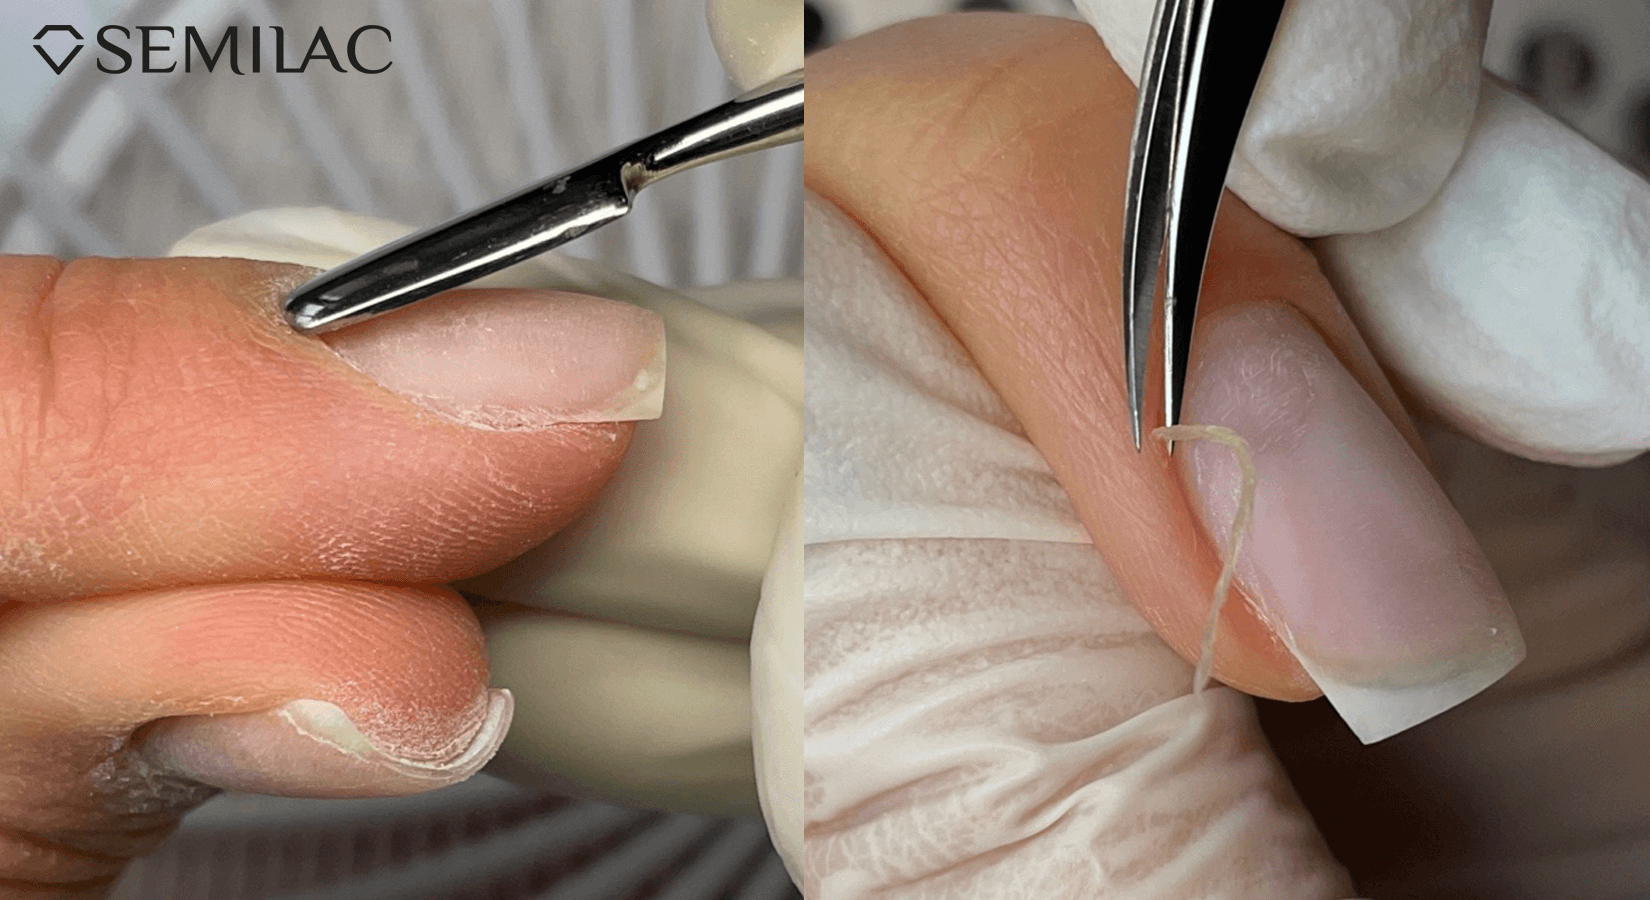
To cut or not to cut? That is the question that keeps many manicure enthusiasts awake at night. Opinions on cutting cuticles are strongly divided. Is cutting cuticles harmful? Is there a simple and safe way to remove them? Discover the answers to these and other questions, so you can soon enjoy healthy and well-groomed hands!
Cutting cuticles around the nails – when is it dangerous?
As mentioned in the introduction, opinions on cutting cuticles are divided. This is because improper removal can indeed result in injuries, tearing, and/or roughening of the skin. Keep in mind that breaking its continuity carries the risk of infection by pathogenic microorganisms, which have easy access to the body through an open wound. The likelihood of various infections also increases when non-disinfected tools are used for the procedure.
However, if you remove cuticles correctly, using properly selected, clean tools and products, the procedure is not harmful – on the contrary, it provides many benefits!
Cutting cuticles around nails – why is it worthwhile?
Careful cuticle maintenance, including gentle cutting, has many advantages. Here are some of them:
- Aesthetic appearance – properly groomed, neat, moisturized cuticles positively impact the perception of even the simplest, most natural manicure and the entire hand.
- Longer manicure durability – regardless of whether you plan to use regular polish, UV gel polish, hard gel, or acrylic gel for your manicure, flooding the cuticles can result in problems such as air bubbles, leading to the loss of adhesion and chipping.
- Increased time between regrowth touch-ups – well-groomed cuticles not only enhance the durability of your manicure but also allow for applying polish close to the nail's posterior edge.
- Elimination of the risk of irritation and allergies – accidental flooding of cuticles can lead to both damage to the manicure and unpleasant irritations or even allergic reactions. Remember that nail styling products are intended for use on the nail plate, not the skin.
- Comfort while working on the styling – when cuticles do not interfere and do not create an uneven surface on the nail plate, it is much easier to paint the nails and create any decorations.
Removing cuticles is not a difficult task, but it requires focus, consideration, and, of course, the use of appropriate accessories to perform it efficiently and safely.
Cuticle cutting tools – what to choose?
There are several options for removing cuticles, and you can combine selected methods. Try each of them to determine which is the most convenient and suitable for you.
-
Nail drill - Using a nail drill significantly facilitates and speeds up the procedure. However, you need to learn how to operate it and choose the right types of bits. If you are just starting your adventure with this device, choose, for example, a ball bit, perfect for cuticle refinement and smoothing periungual folds. You can use the nail drill to initially shape the nail plate and cuticles, and then cut them with scissors or cuticle nippers.

- Scissors - If you want to remove cuticles with scissors, you need to get a model designed specifically for this task. Why? Because special cuticle scissors have several important features:
- They allow for precise cuticle refinement.
- They have a narrow blade and extended handles, facilitating cutting.
- They allow for cutting cuticles in hard-to-reach places.
- The polished back surface protects against plate injuries.
- They can be disinfected or sterilized in a cosmetic autoclave.
- They are dedicated for professional use.

If you want to invest in high-quality tools, try Semilac cuticle scissors with a blade length of 23 mm.
- Cuticle nippers - As it turns out, choosing this tool is not so simple and obvious. What should cutters be characterized by? Pay attention to the following aspects:
- Made of moisture-resistant surgical steel (so they won't rust and will be suitable for safe use for a long time).
- Straight, short handles.
- Straight cutting edges allowing reaching hard-to-reach places without the risk of damaging the epidermis.
- A spring ensuring smooth movements, work comfort, and safety.
- The possibility of disinfection or sterilization in an autoclave.

Test Basic 5 mm cutters and Comfy 7 mm cutters.
What to choose – cuticle nippers or scissors?
The choice largely depends on the structure of your cuticles. If they do not adhere closely to the plate, you can pry them with a wooden stick or pusher, creating a pocket for cutting with scissors. If the cuticles are heavily overgrown and attached to the plate, and the periungual folds are flat, cuticle nippers will be a better choice.
Cutting cuticles step by step
Start working on the cuticles by softening them. Use a special softening agent, such as Semilac Cuticle Remover. Apply it to the cuticles and wait a few minutes. They will become more flexible and susceptible to the procedure, minimizing the risk of cracking. Then gently push back the softened cuticles using a wooden stick or pusher. If they require cutting, use cuticle nippers or scissors, depending on which product is better for you.

How to deal with cracking cuticles?
Did you know that one of the most common causes of cuticle cracking is dehydration? They can also be damaged by too deep and intensive cutting and/or incorrect filing of the plate, where the skin is damaged by the file. In such a situation, it is better to refrain from performing a manicure until the damaged epidermis is reconstructed. To speed up the reconstruction, use moisturizing, regenerating, and nourishing oils. Only when the cuticles are healed can you proceed to their gentle refinement following the above guidelines.
Conclusion
You now know that cutting cuticles is not only safe but also brings a host of benefits, provided you perform the procedure correctly, using the right tools and products. Regularly care for your cuticles and remember to moisturize them intensively; they will look incredibly aesthetic and healthy!

