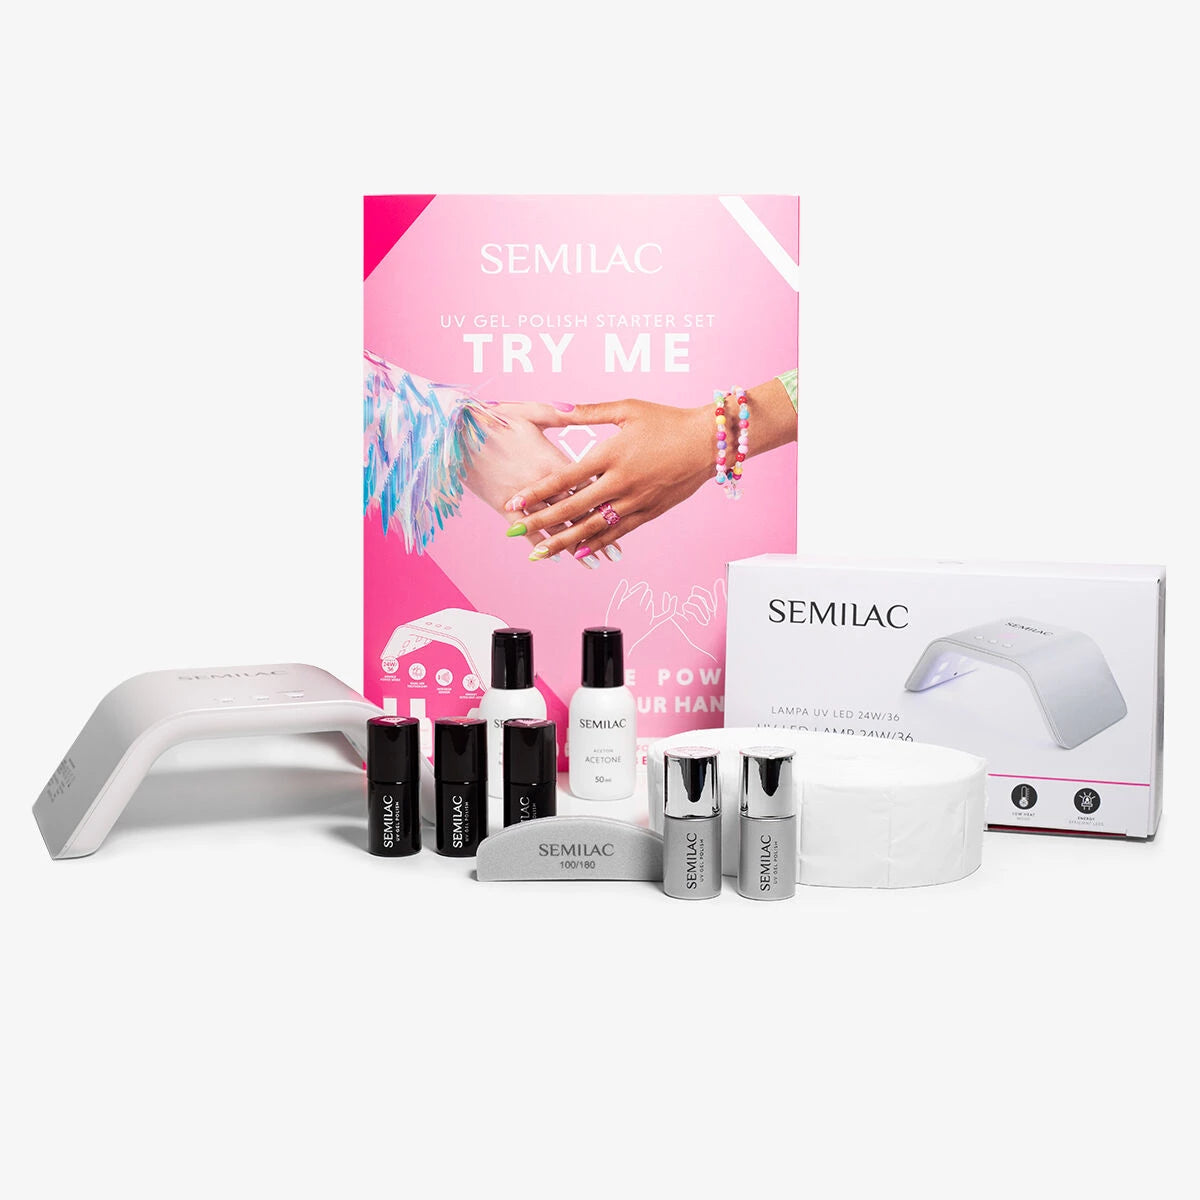
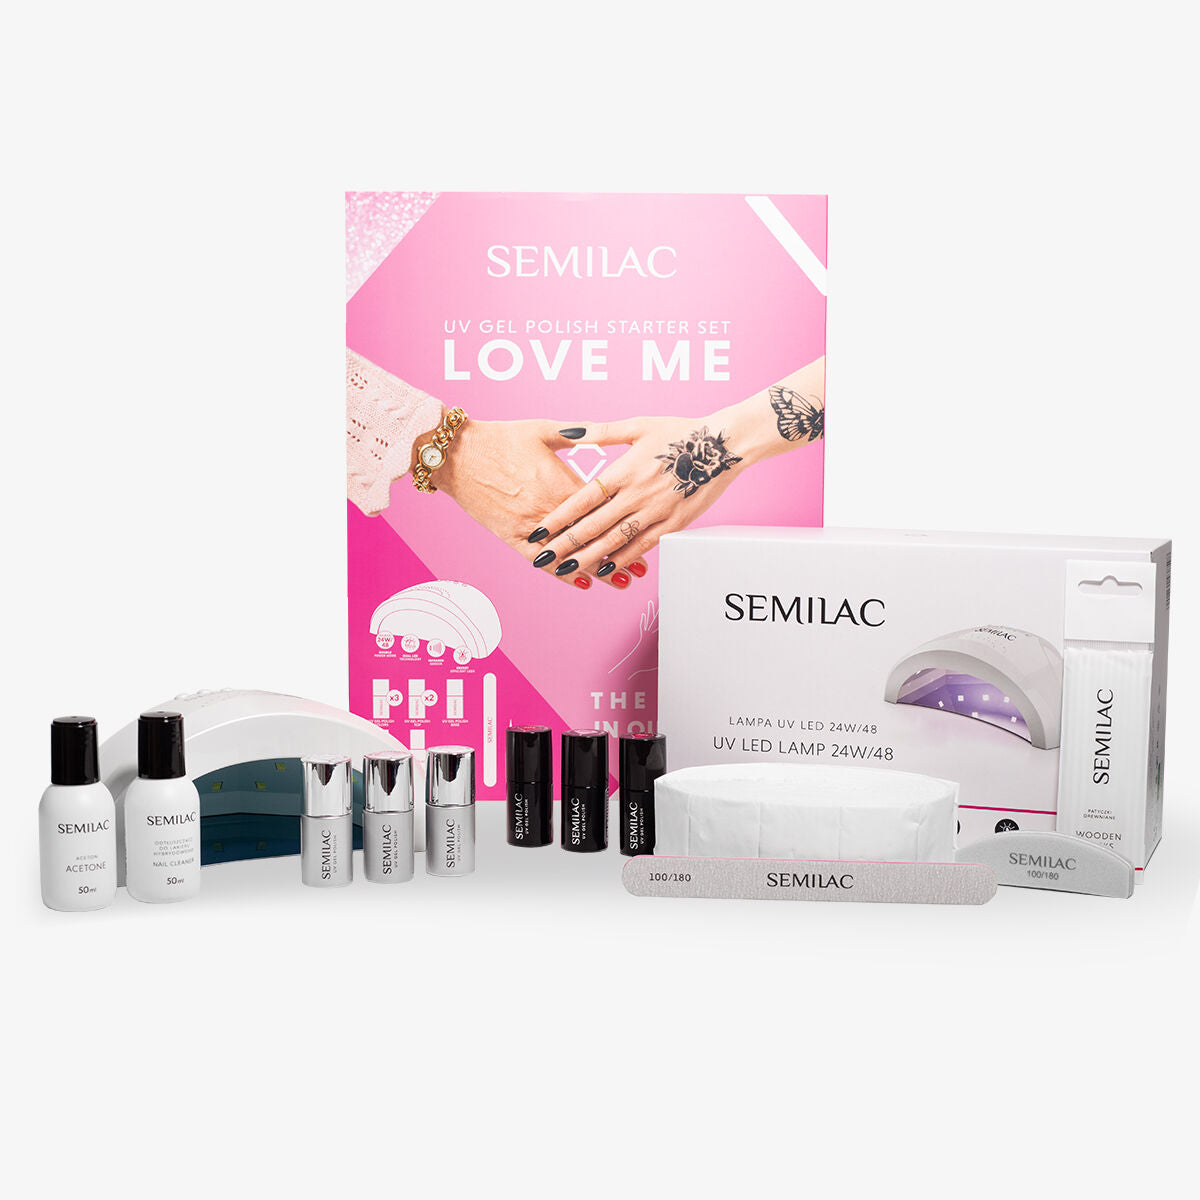
Gel nails have become increasingly popular in recent years, offering a long-lasting and durable alternative to traditional nail polish. However, achieving the perfect gel nail look requires more than just the right products - it also requires the right tools and techniques. Semilac Nail Drills are an essential tool for anyone looking to master the art of gel nails. In this blog post, we'll cover some tips, techniques, and best practices for using nail drills to achieve flawless gel nails every time.

Tip #1: Choose the Right Bit
Semilac nail drills come with a variety of different bits to choose from, each designed for a specific task. Before getting started, it's important to choose the right bit for the job. For example, a barrel bit is great for removing gel polish or shaping the nail, while a cone bit is better for getting into tight spaces and removing cuticles. Experiment with different bits to find which ones work best for your specific needs.
Tip #2: Start Slow
When using a nail drill, it's important to start slow and gradually increase speed as you become more comfortable. This will help prevent any accidents or mistakes that could damage your nails. Semilac nail drills come with adjustable speed settings, allowing you to start at a slow speed and gradually work your way up.
Tip #3: Use the Right Pressure
Another important factor to consider when using a nail drill is the amount of pressure you're applying. Using too much pressure can cause discomfort and even damage your nails. On the other hand, not applying enough pressure may not give you the results you're looking for. Experiment with different pressure levels to find the right balance.

Technique #1: Buffing
One of the most common uses for Semilac nail drills is buffing the nail surface. This technique involves using a buffing bit to smooth out any rough patches or ridges on the nail surface. Be sure to use a light touch when buffing to avoid damaging the natural nail.
Technique #2: Shaping
Nail drills are also great for shaping the nail to your desired length and shape. Use a barrel bit to file the nail down to the desired length, then use a cone bit to shape the nail into a square, oval, or other desired shape.

Best Practice #1: Clean and Sanitise Your Nail Drill
It's important to clean and sanitise your nail drill after each use to prevent the spread of bacteria and other germs. Use a cleaning brush to remove any debris or dust from the drill bits, then soak the bits in rubbing alcohol for at least 10 minutes to sanitise them.
Best Practice #2: Protect Your Nails
Using a nail drill can be a great way to achieve flawless gel nails, but it's important to take steps to protect your natural nails. Use a cuticle oil to moisturize your nails and cuticles before and after using the nail drill. You can also use a nail file or buffer to smooth out any rough edges or ridges that may be caused by the nail drill.
Semilac Nail Drills are an essential tool for anyone looking to achieve flawless gel nails. By following these tips, techniques, and best practices, you'll be well on your way to mastering the art of gel nails with Semilac Nail Drills.


