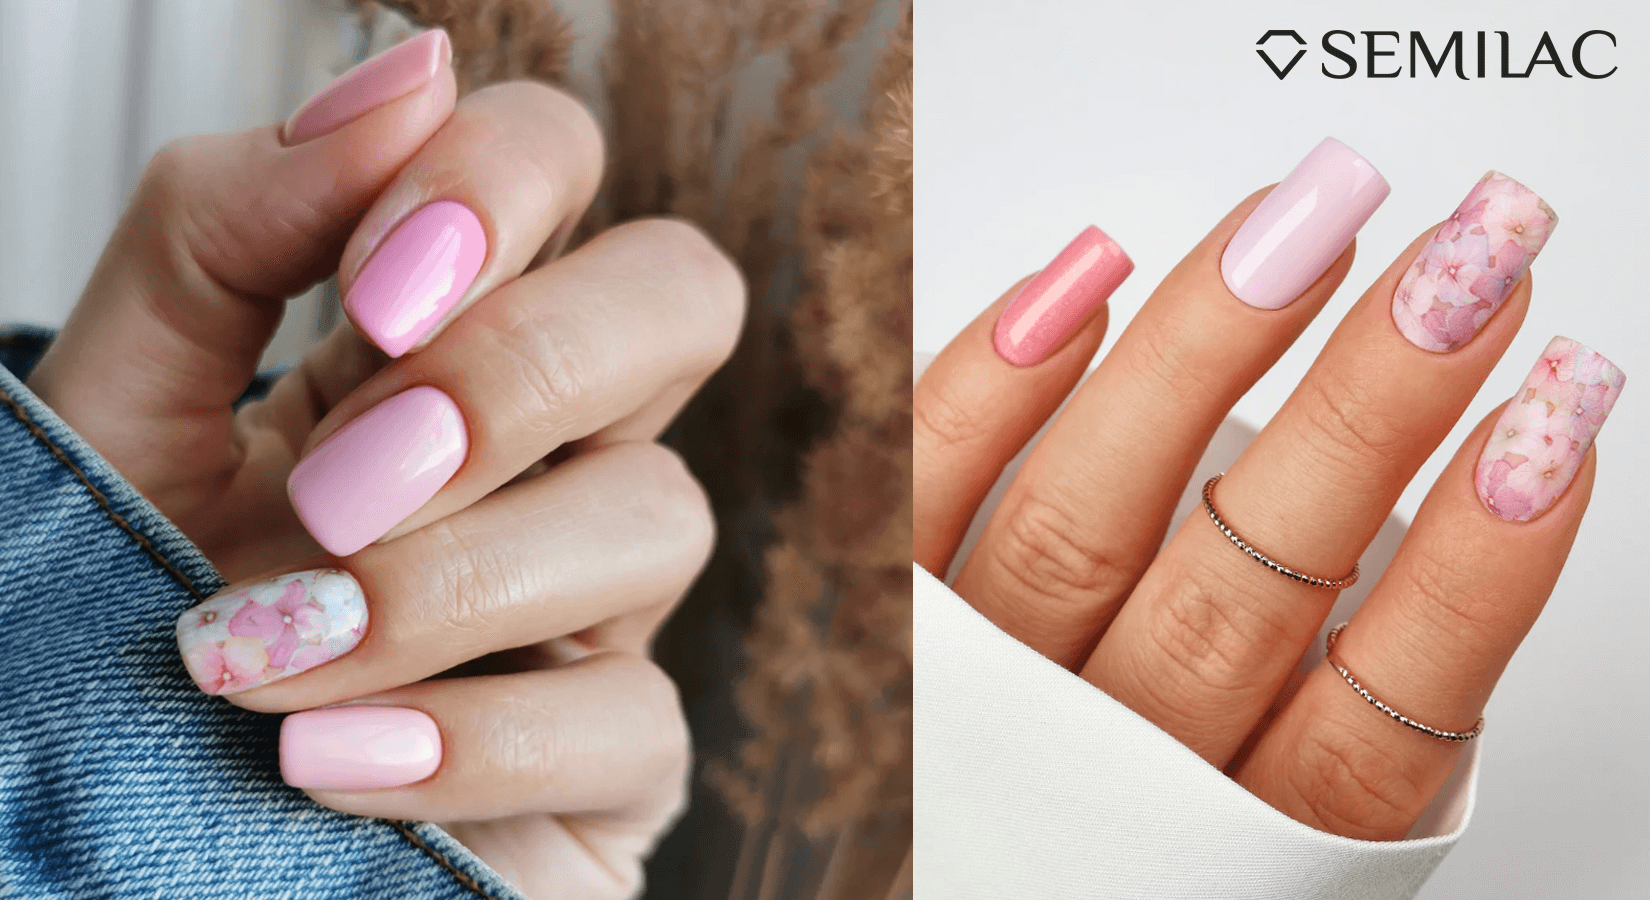
Creating stunning, salon-quality nails at home has never been easier, especially with the advent of UV gel nail systems. One popular and fun way to elevate your manicure game is by adding stickers to your UV gel nails. Nail stickers come in various designs, from intricate patterns to playful motifs, and they can transform your nails into a canvas for creative expression. In this article, we’ll guide you through the process of applying stickers to UV gel nails for a flawless, long-lasting look.
Types of Nail Stickers
-
Water Decals: These stickers require soaking in water before application. They are delicate and offer intricate designs.
Application Tip: Ensure the nail is slightly damp when applying water decals for better adhesion. -
Vinyl Stickers: These are adhesive-backed stickers, easy to apply and reposition if necessary.
Application Tip: Press firmly to ensure there are no air bubbles trapped underneath. -
3D Stickers: These stickers have a raised surface for a textured, three-dimensional effect.
Application Tip: Seal with a thick top coat to ensure they stay in place and last longer. -
Foil Stickers: These offer a metallic, shiny finish and are great for adding a touch of glamour.
Application Tip: Press down evenly to prevent any creasing or tearing. -
Nail Wraps: Full-nail stickers that cover the entire nail, offering a quick way to achieve intricate designs.
Application Tip: File off the excess wrap after application to get a perfect fit.

Materials You Will Need:
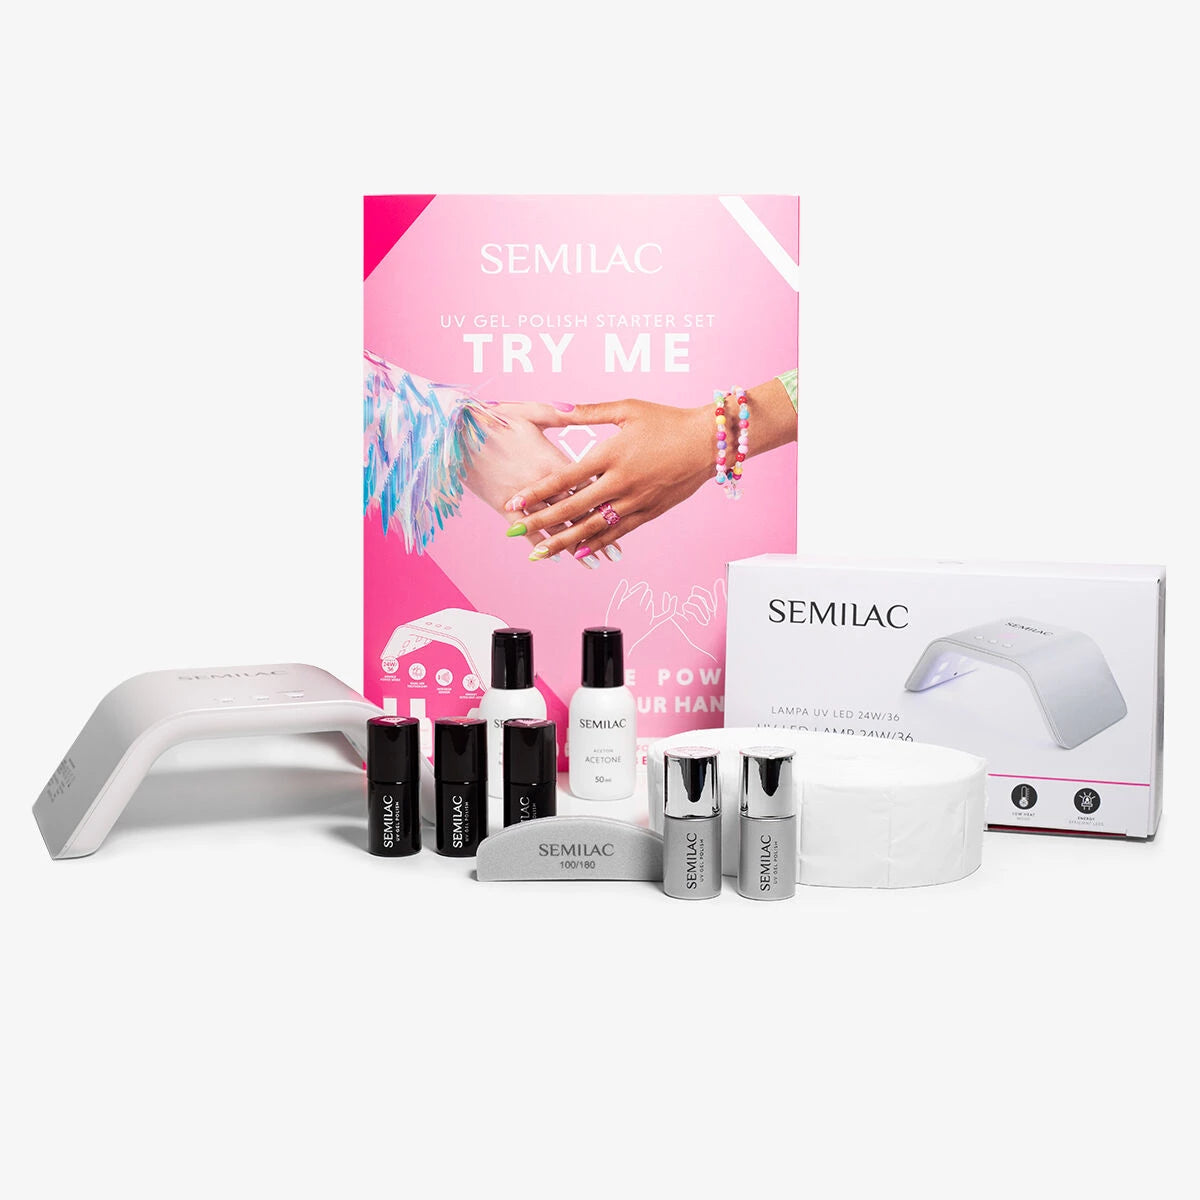
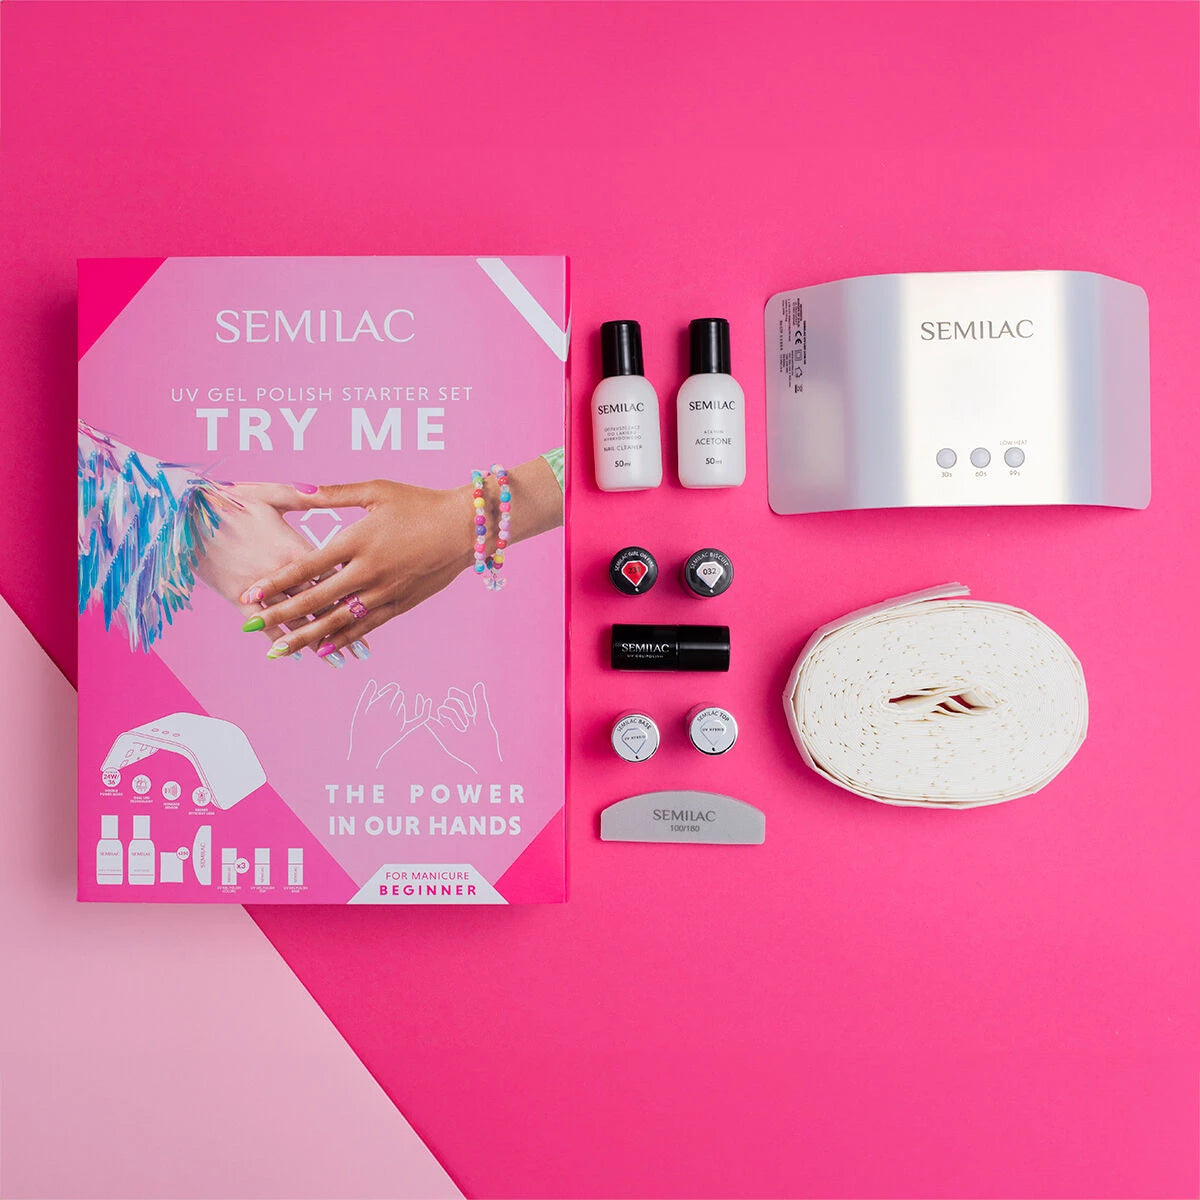
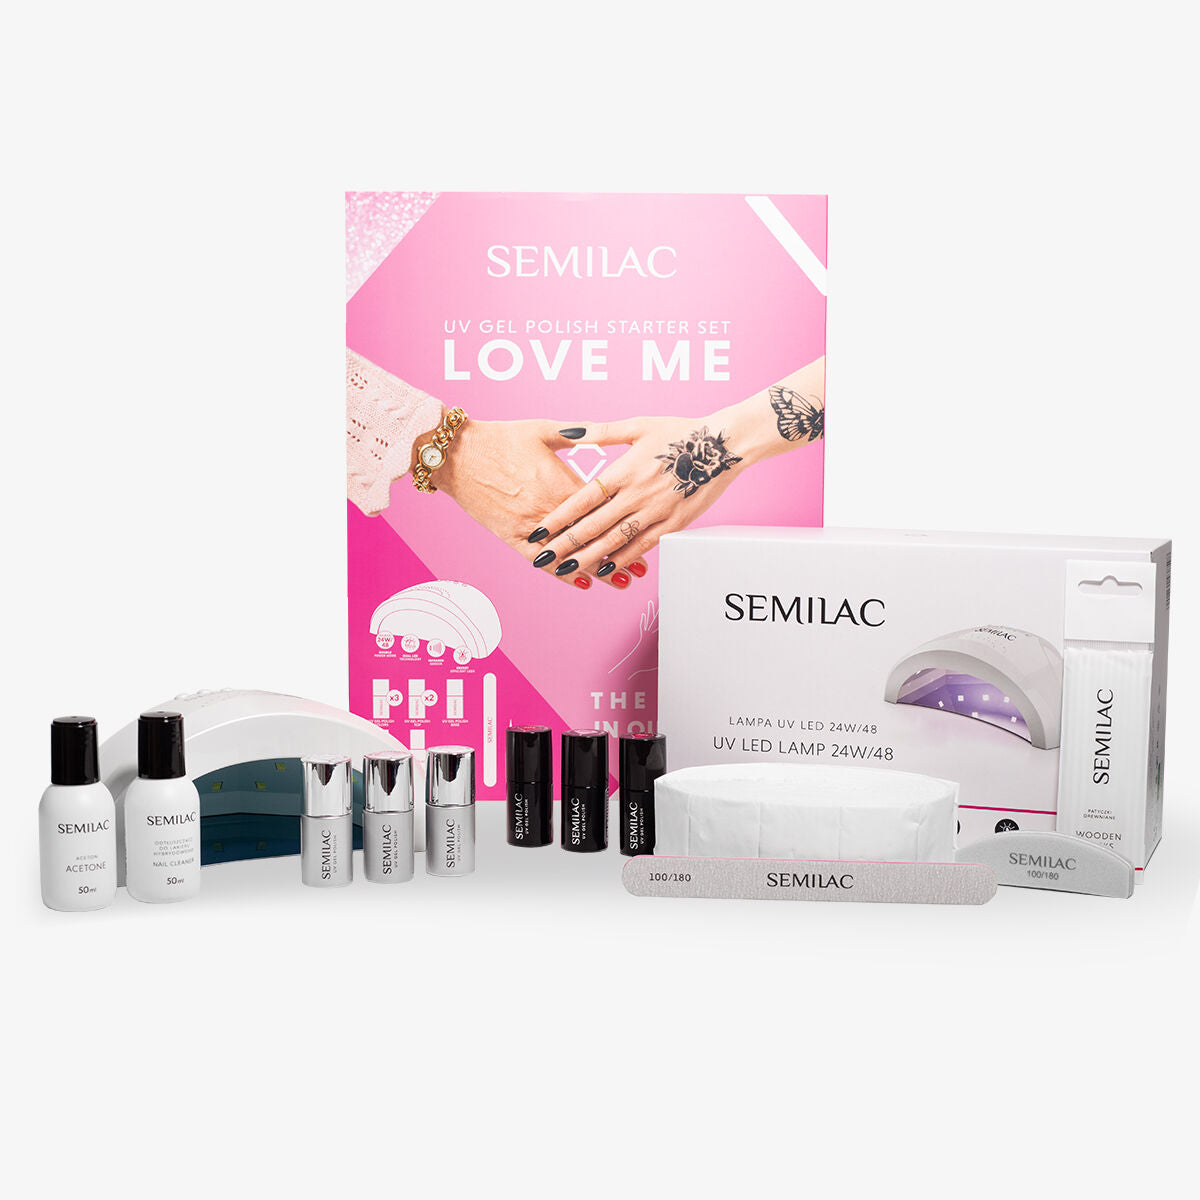
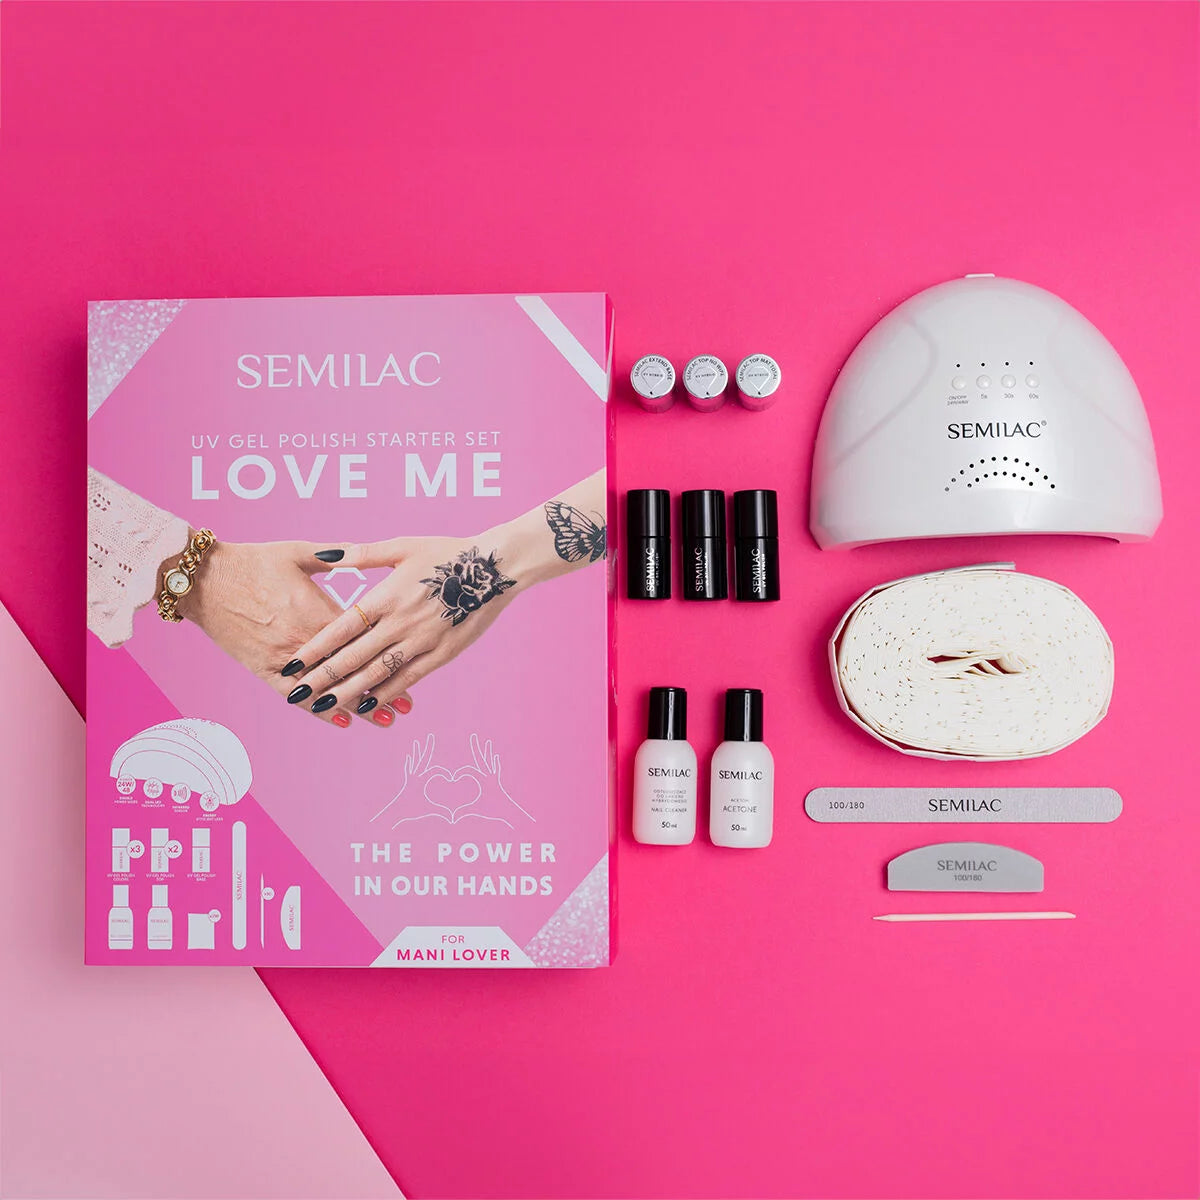
- UV Gel Nail Kit: Includes base coat, top coat, colour UV gel polish, and a UV/LED lamp.
- Nail Stickers: Choose your desired designs.
- Nail Tools: Nail file, buffer, cuticle pusher.
- Tweezers: For precise application.
- Cleaner: To clean your nails.
- Cotton Pads or Lint-Free Wipes: For cleaning.
- Cuticle Oil: For aftercare.
Step-by-Step Guide:
Prep Your Nails
Clean and Shape: Start with clean, dry nails. Remove any old polish and use a nail file to shape your nails to your desired shape. Buff the surface gently to remove any shine. This helps the UV gel polish adhere better.
Push Back Cuticles: Use a cuticle pusher to gently push back your cuticles. This step helps in achieving a neat application and prevents the UV gel polish from lifting.
Clean the Nails: Wipe your nails with cleaner using a cotton pad or lint-free wipe to remove any oils or residue. This ensures better adhesion of the UV gel and stickers.
Apply Base Coat
Apply a thin layer of UV gel base coat to your nails. Be careful not to get any on your cuticles or skin as this can cause lifting. Cure under the UV/LED lamp according to the manufacturer's instructions (usually around 30-60 seconds).
Apply Colour UV Gel Polish
Apply your chosen colour of UV gel polish. For a more vibrant look, you might need two or three coats. Cure each layer under the UV/LED lamp. Ensure each layer is fully cured before applying the next one. This builds a strong and even colour foundation for your stickers.
Prepare and Apply Stickers
Choose Your Stickers: Select the stickers you want to use. Carefully cut around the designs if they are not pre-cut. This makes it easier to handle and apply them precisely.
Positioning: Use tweezers to carefully peel off the sticker and place it on your nail. Position it as desired, pressing down gently to smooth out any air bubbles. Take your time to ensure the sticker is flat against the nail surface. If the sticker is not adhering well, gently press it with a silicone tool or your finger to ensure it is securely attached.
Smooth and Secure: Once the sticker is in place, smooth out any edges or bubbles. Make sure the sticker is well adhered to prevent it from lifting later.
Seal with Top Coat
Apply a generous layer of UV gel top coat over the entire nail, making sure to cover the sticker completely. This step is crucial as it seals the sticker and ensures longevity. Be careful to cap the free edge of your nail to prevent chipping.
Cure under the UV/LED lamp for the recommended time. This final layer protects your design and gives your nails a glossy finish.
Final Touches
Cleanse: Once the top coat is cured, wipe your nails with cleaner to remove the sticky layer that forms on top. This will leave your nails with a smooth, glossy finish.
Moisturize: Apply cuticle oil around your nails to keep the skin hydrated and healthy. This helps maintain the overall appearance of your manicure and promotes healthy nail growth.

Tips for a Flawless Finish:
Thin Layers: Always apply thin layers of UV gel polish to avoid a bulky look and ensure each layer cures properly. Thick layers can cause wrinkling and may not cure evenly.
Avoid Overcuring: Overcuring can make the UV gel brittle and prone to cracking. Follow the curing times recommended by the product manufacturer carefully.
Practice Patience: Take your time placing the stickers to avoid creases or misplacement. Precision is key for a professional-looking finish.
Experiment with Designs: Don’t be afraid to mix and match stickers, or combine them with other nail art techniques like stamping or freehand designs. This allows you to create unique and personalized nail art.
Troubleshooting Common Issues:
Stickers Lifting: If your stickers lift after application, ensure that your nails are completely dry and free from oils before applying the stickers. Also, make sure to smooth the stickers down firmly and seal well with a top coat.
Wrinkling Gel Polish: This often happens when layers are applied too thick. Apply thin, even coats and cure thoroughly between each layer.
Air Bubbles: To avoid air bubbles, apply the sticker carefully, pressing down gently from one side to the other. Use a silicone tool to smooth out any bubbles.
Chipping: Cap the free edge of your nails with each layer of UV gel polish and top coat to prevent chipping.

Conclusion
Applying stickers to UV gel nails is a fantastic way to achieve professional-looking nail art at home. With a little patience and practice, you can create intricate and stunning designs that are sure to impress. Whether you’re prepping for a special occasion or just want to add a touch of flair to your everyday look, nail stickers are a versatile and user-friendly option. So, gather your supplies, unleash your creativity, and enjoy the process of decorating your nails with beautiful stickers! With these tips and steps, you can confidently create gorgeous nail designs that last. Remember, practice makes perfect, and the more you experiment, the better you'll get. Happy nail art!

