When the temperatures drop and winter winds howl, there’s nothing more appealing than staying warm and cosy at home. But just because you’re avoiding the cold doesn’t mean you have to miss out on a flawless manicure. With UV gel nails, you can achieve a salon-quality finish without stepping out into the frosty weather. This step-by-step guide will show you how to create stunning nails in the comfort of your own home.
What You’ll Need
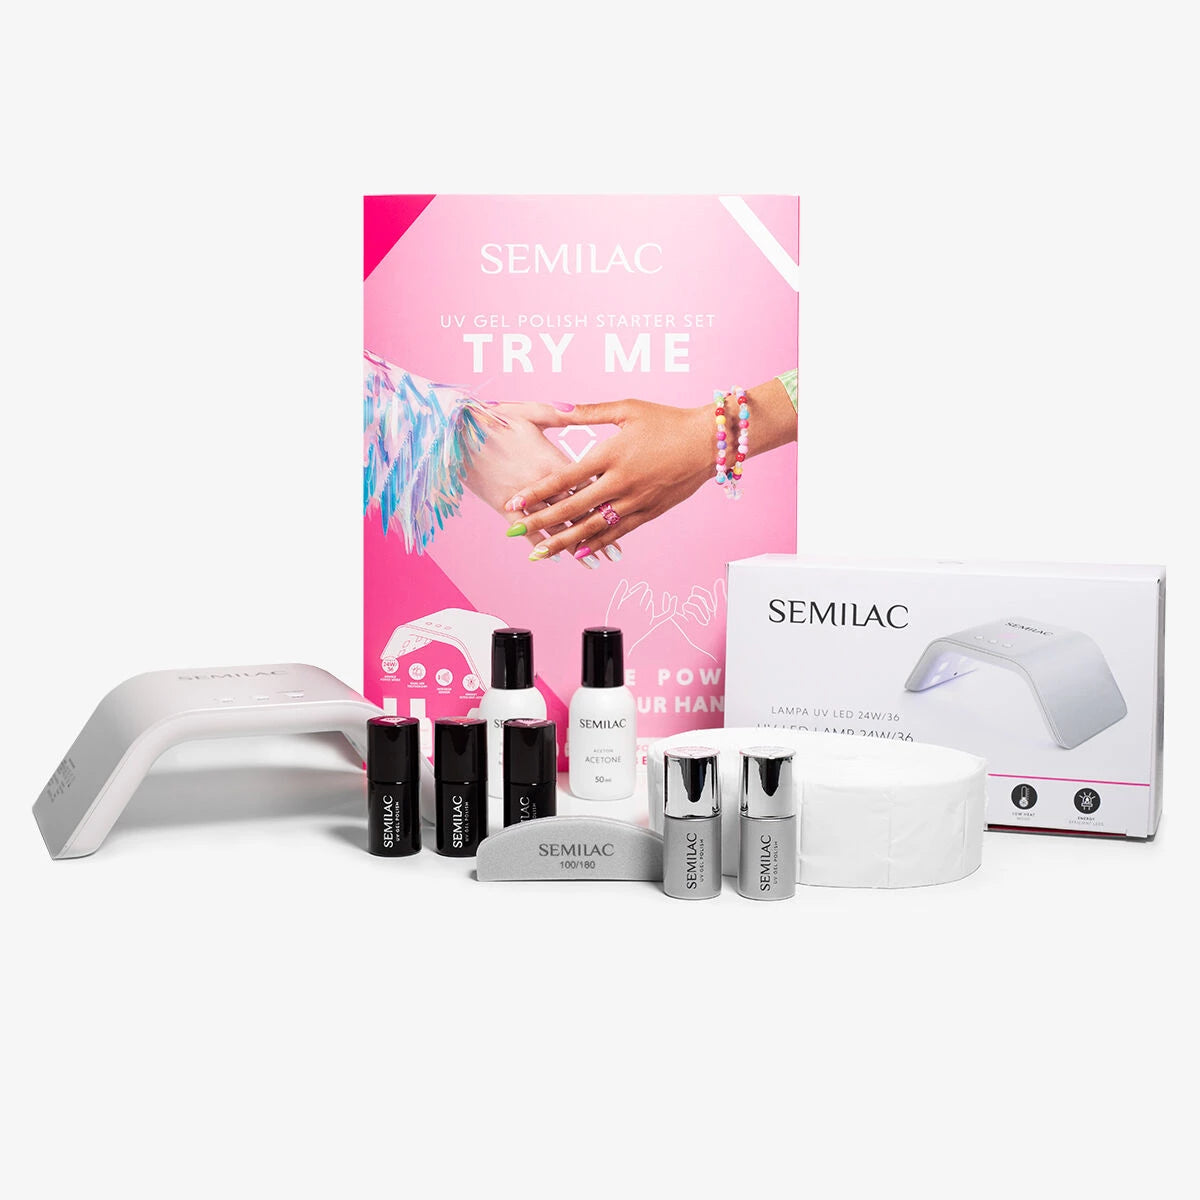
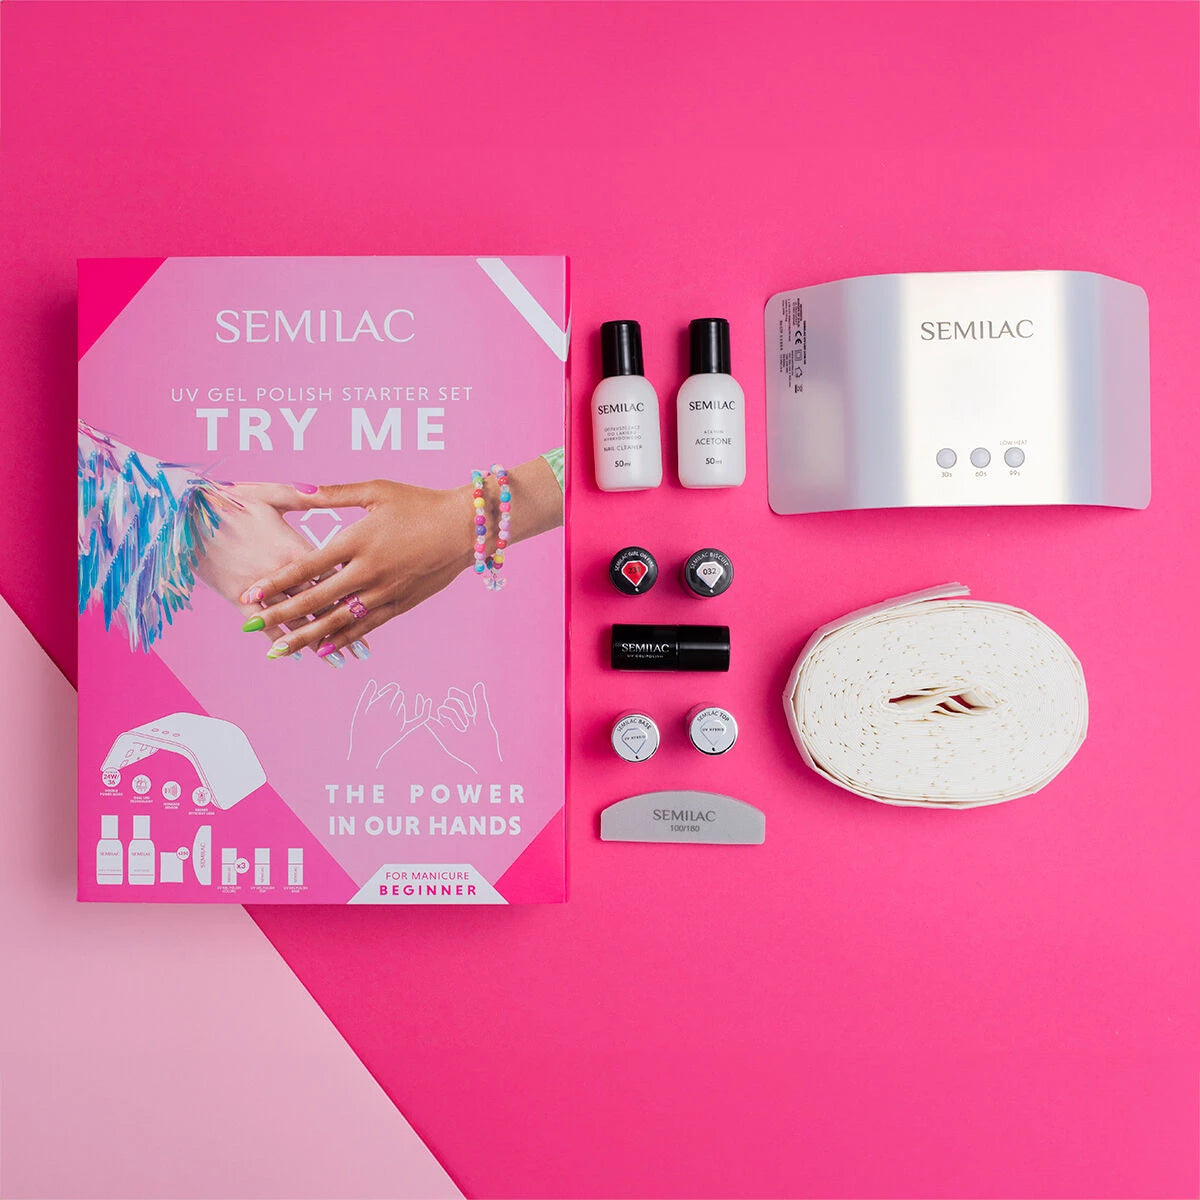
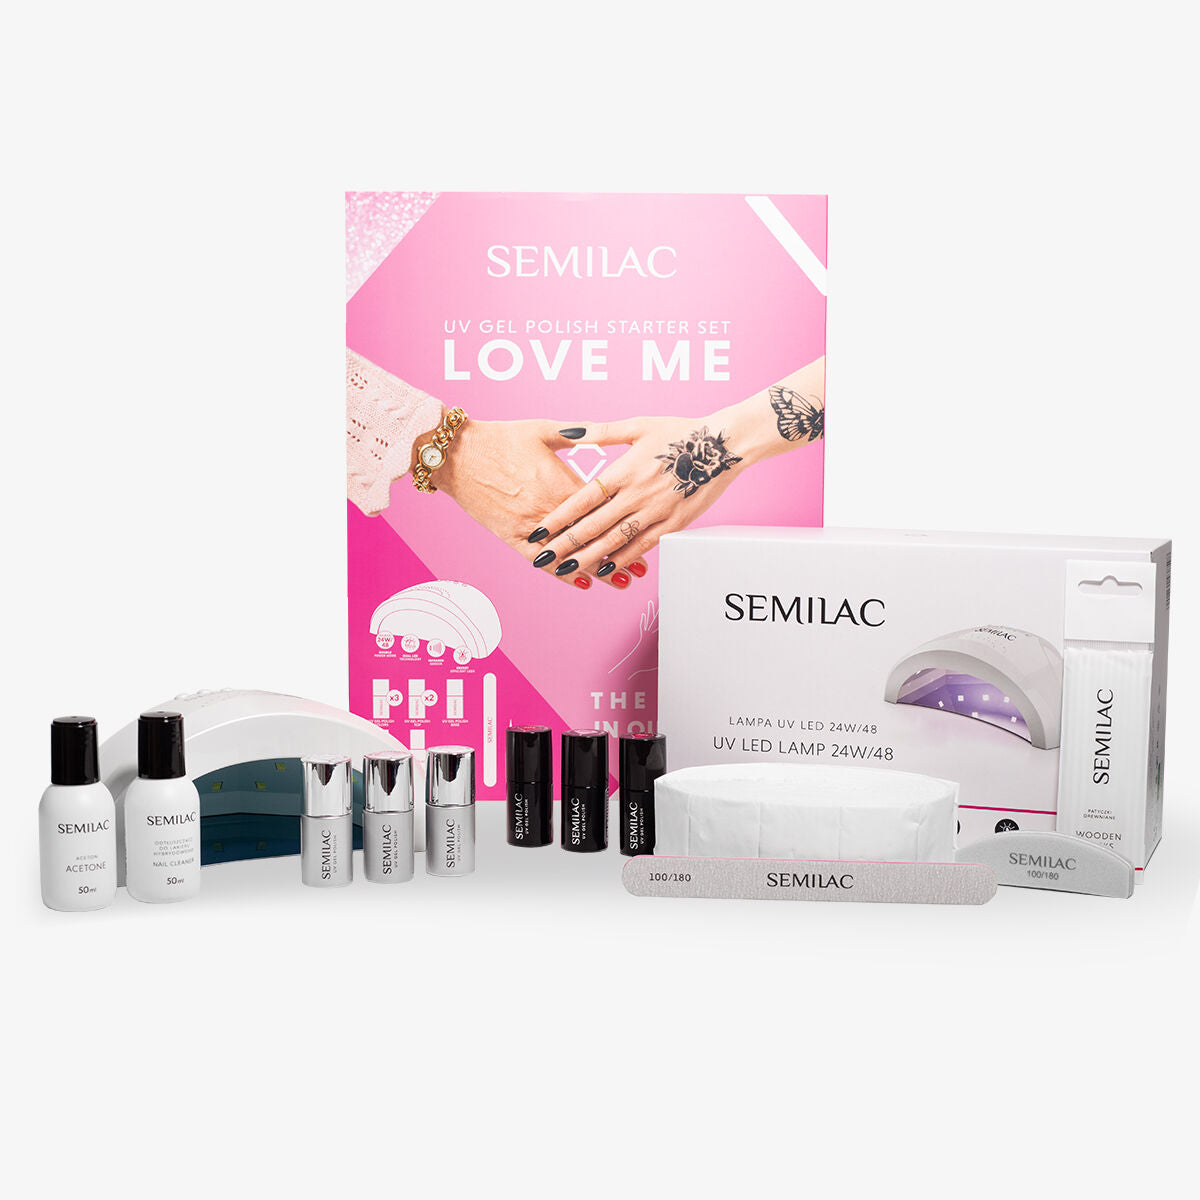
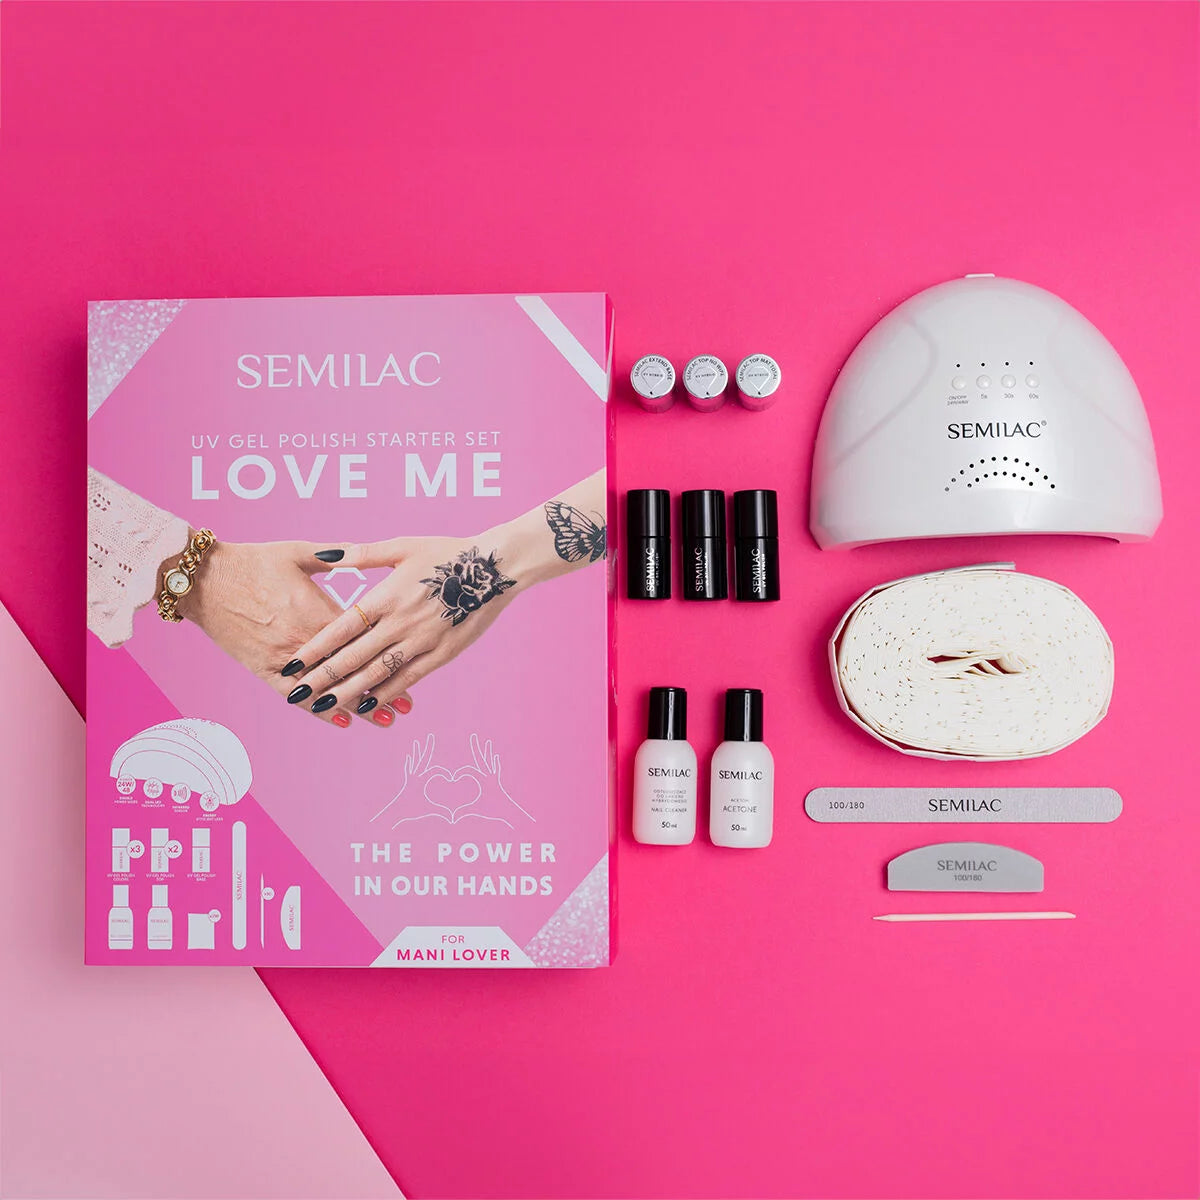
Before you begin, gather the following essentials:
- UV nail lamp
- UV gel colour of your choice
- UV gel base coat
- UV gel top coat
- Nail file and buffer
- Cuticle pusher
- Nail cleaner
- Lint-free wipes
Step 1: Nail Preparation
Proper preparation is the key to a flawless manicure. Follow these steps:
- Clean Your Nails: Remove any old polish and wash your hands thoroughly.
- Shape Your Nails: Use a nail file to shape your nails to your desired length and style.
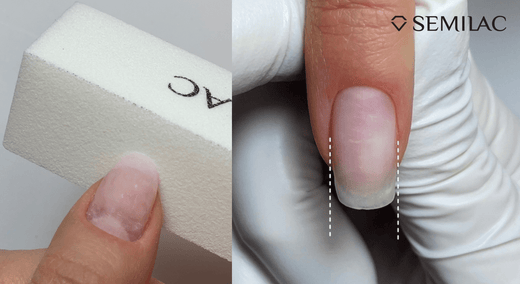
- Buff the Surface: Gently buff the surface of your nails to remove shine. This helps the gel adhere better.
- Push Back Cuticles: Use a cuticle pusher to gently push back your cuticles, ensuring a clean base for application.
- Cleanse the Nails: Wipe each nail with a lint-free wipes soaked in nail cleaner or alcohol to remove oils and dust.

Step 2: Apply the Base Coat
- Apply a thin layer of UV gel base coat to each nail, ensuring even coverage but avoiding the skin and cuticles.
- Cure the base coat under the UV lamp for the time specified in the product instructions (typically 30–60 seconds).

Step 3: Apply the Colour
- Choose your UV gel colour and apply a thin, even layer to each nail. Avoid applying too much product to prevent uneven curing.
- Cure the first layer under the UV lamp.
- Repeat the process for a second layer to achieve full opacity, curing each layer thoroughly.

Step 4: Seal with a Top Coat
- Apply a thin layer of UV gel top coat to seal in the colour and add a glossy finish.
- Cure the top coat under the UV lamp.

Step 5: Cleanse and Finish
- Once cured, wipe your nails with a lint-free wipes soaked in nail cleaner to remove any sticky residue left behind by the gel.
- Apply cuticle oil to nourish and hydrate your cuticles.

Tips for Success
- Work in Thin Layers: Thick layers of gel can cause uneven curing and bubbling. Always apply thin, even coats.
- Avoid the Skin: Keep the gel off your skin and cuticles to prevent lifting.
- Use Quality Products: Invest in high-quality UV gel products for the best results and durability.
- Practice Patience: Take your time with each step to ensure a professional finish.
Why Choose UV Gel Nails?
UV gel nails are known for their durability, high shine, and resistance to chipping. They’re perfect for anyone who wants a long-lasting manicure that stays flawless for weeks. With a wide range of colours and finishes available, UV gel nails allow you to express your style effortlessly.
Final Thoughts
Styling UV gel nails at home is a rewarding and cost-effective way to achieve salon-quality results. By following this step-by-step guide, you’ll soon master the art of UV gel nails and enjoy beautiful, long-lasting manicures whenever you please.
Discover the full range of UV gel nail products and start your at-home manicure journey today!

