Nail art is a fun and expressive way to personalise your manicure, but if you're new to it, it can seem a bit daunting. The good news? With a few simple tools, a steady hand, and a bit of practice, you can achieve beautiful designs right from home. Whether you’re dreaming of delicate florals, abstract shapes, or minimalist details, this beginner’s guide will help you master the basics of nail art using UV gel polish.
1. Start with a Smooth Base
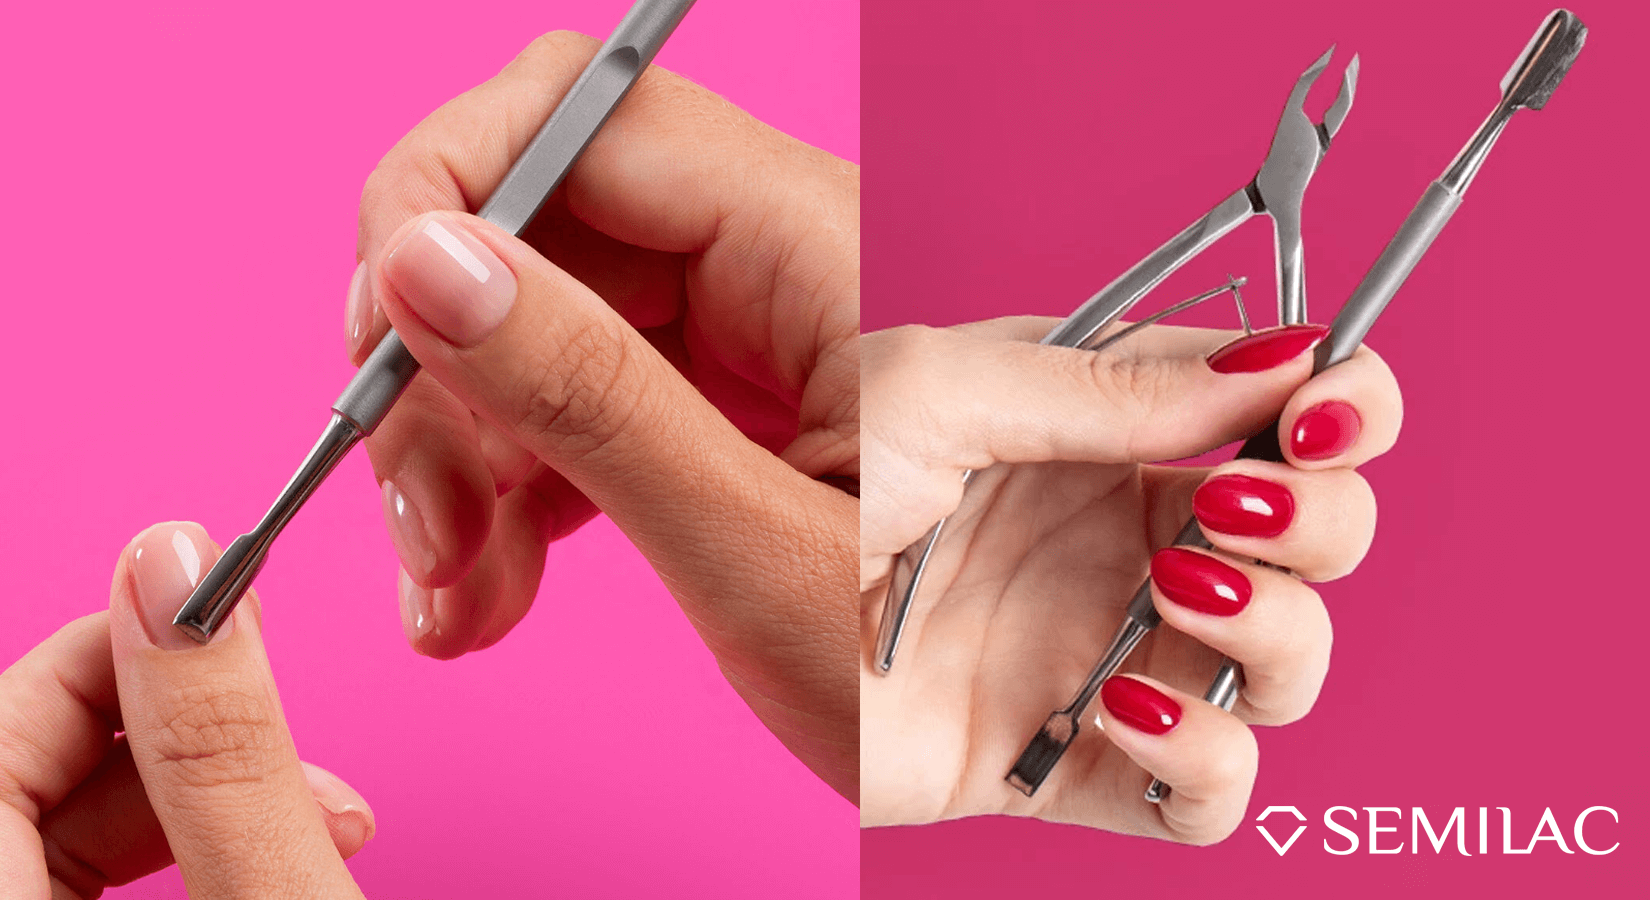
Before you get creative, it’s essential to prep your nails properly. A clean, even base ensures your designs will apply smoothly and last longer.
Steps:
-
Push back your cuticles and gently buff the surface of your nails.
-
Apply a base coat to protect your natural nails.
-
Use a UV lamp to cure your base coat before moving on to colour.

Top tip: Choose a neutral or pastel UV gel polish as your canvas – these shades allow details to stand out beautifully.
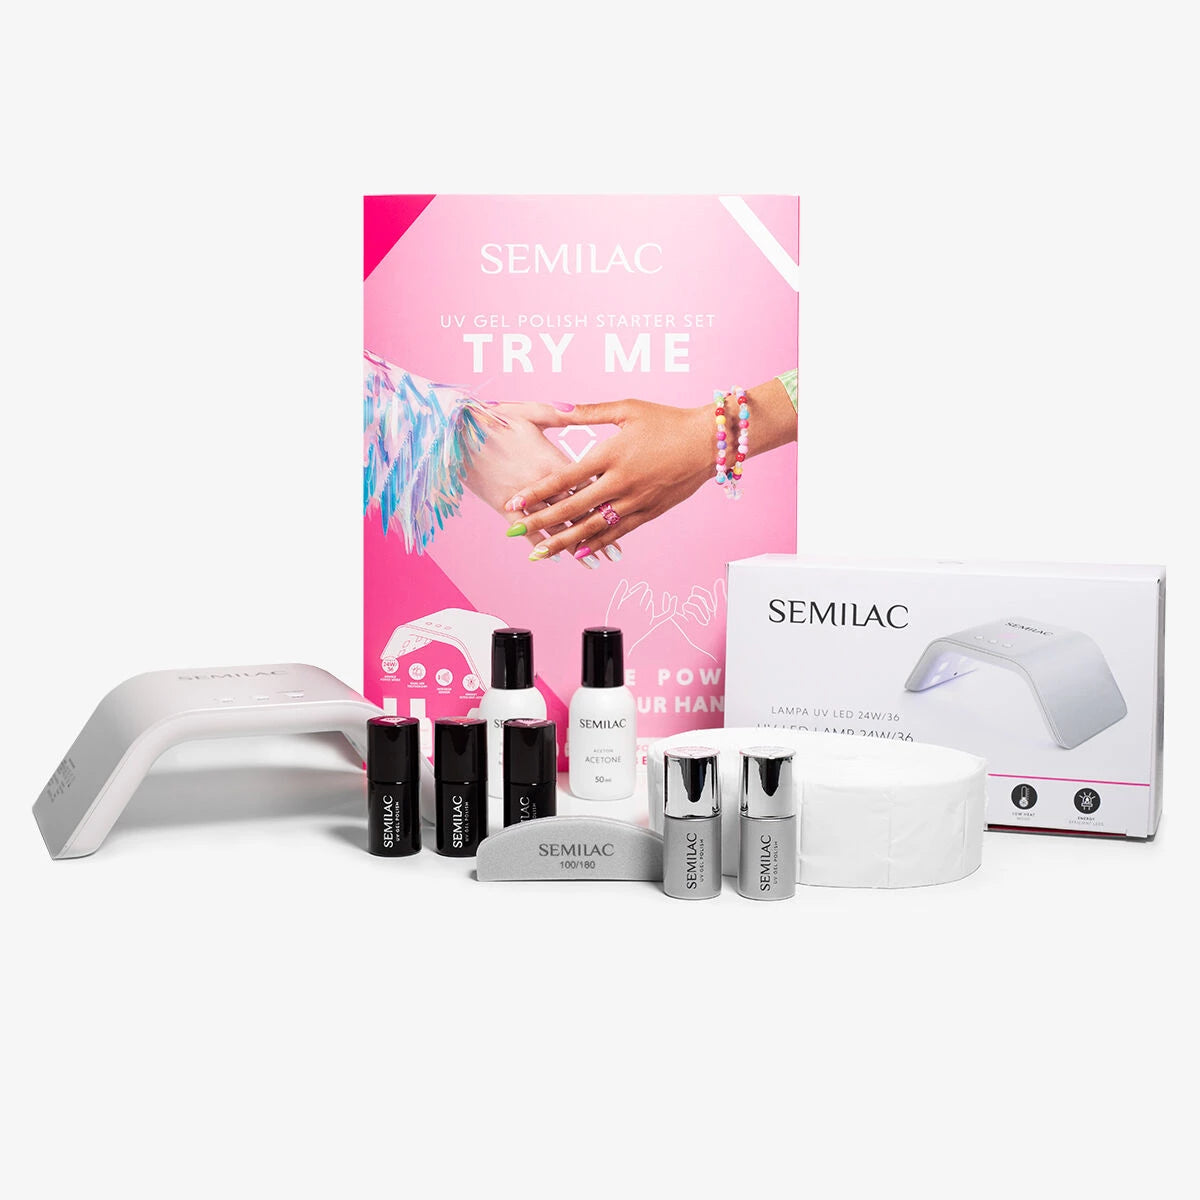
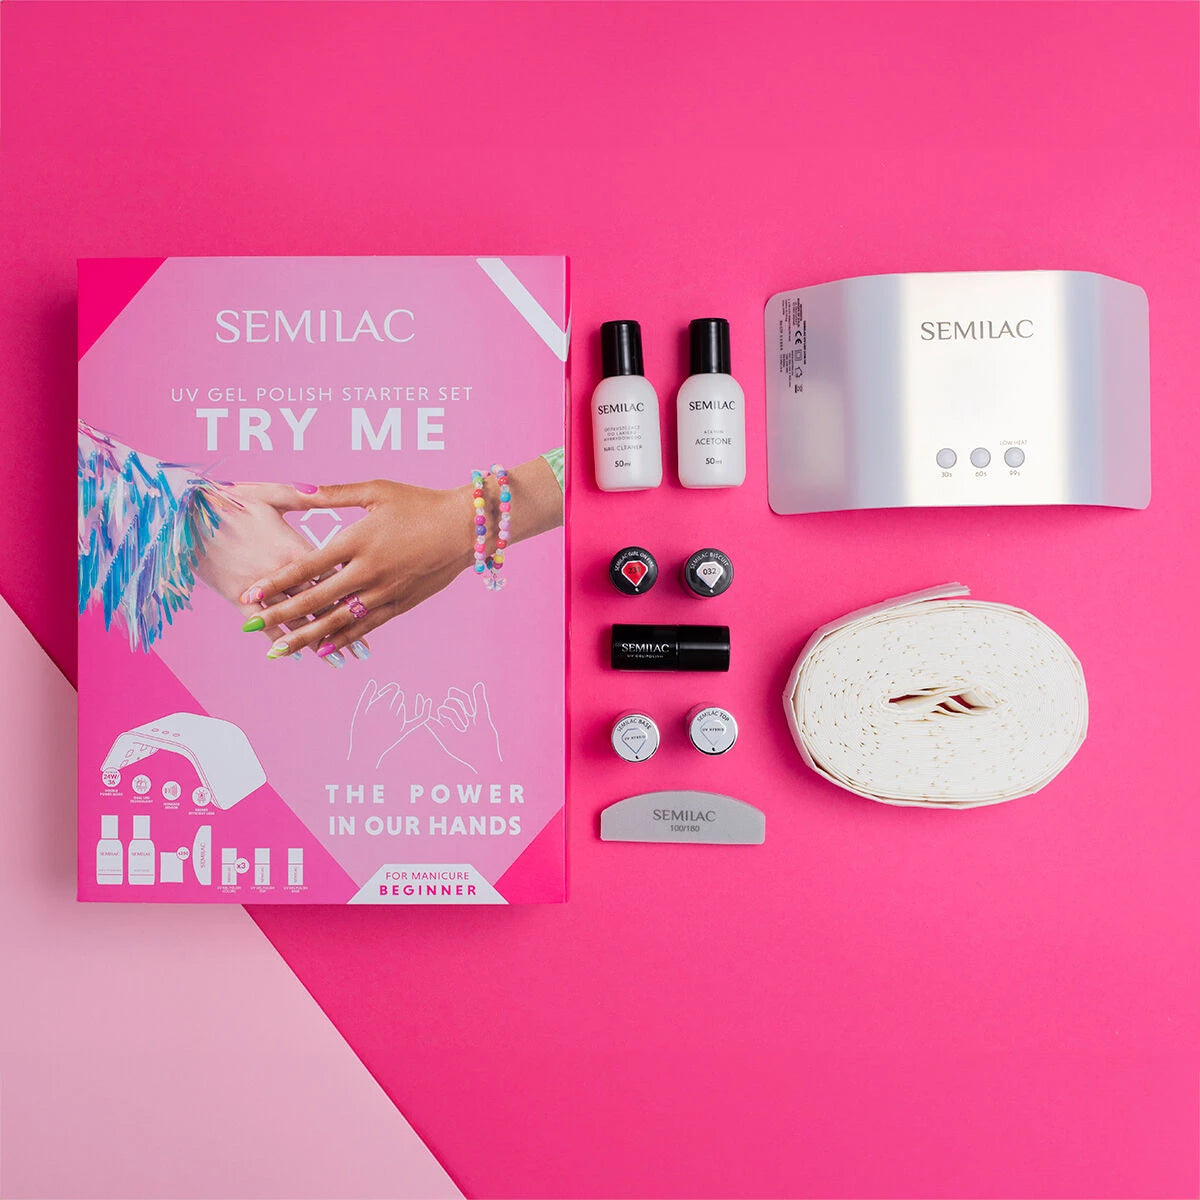
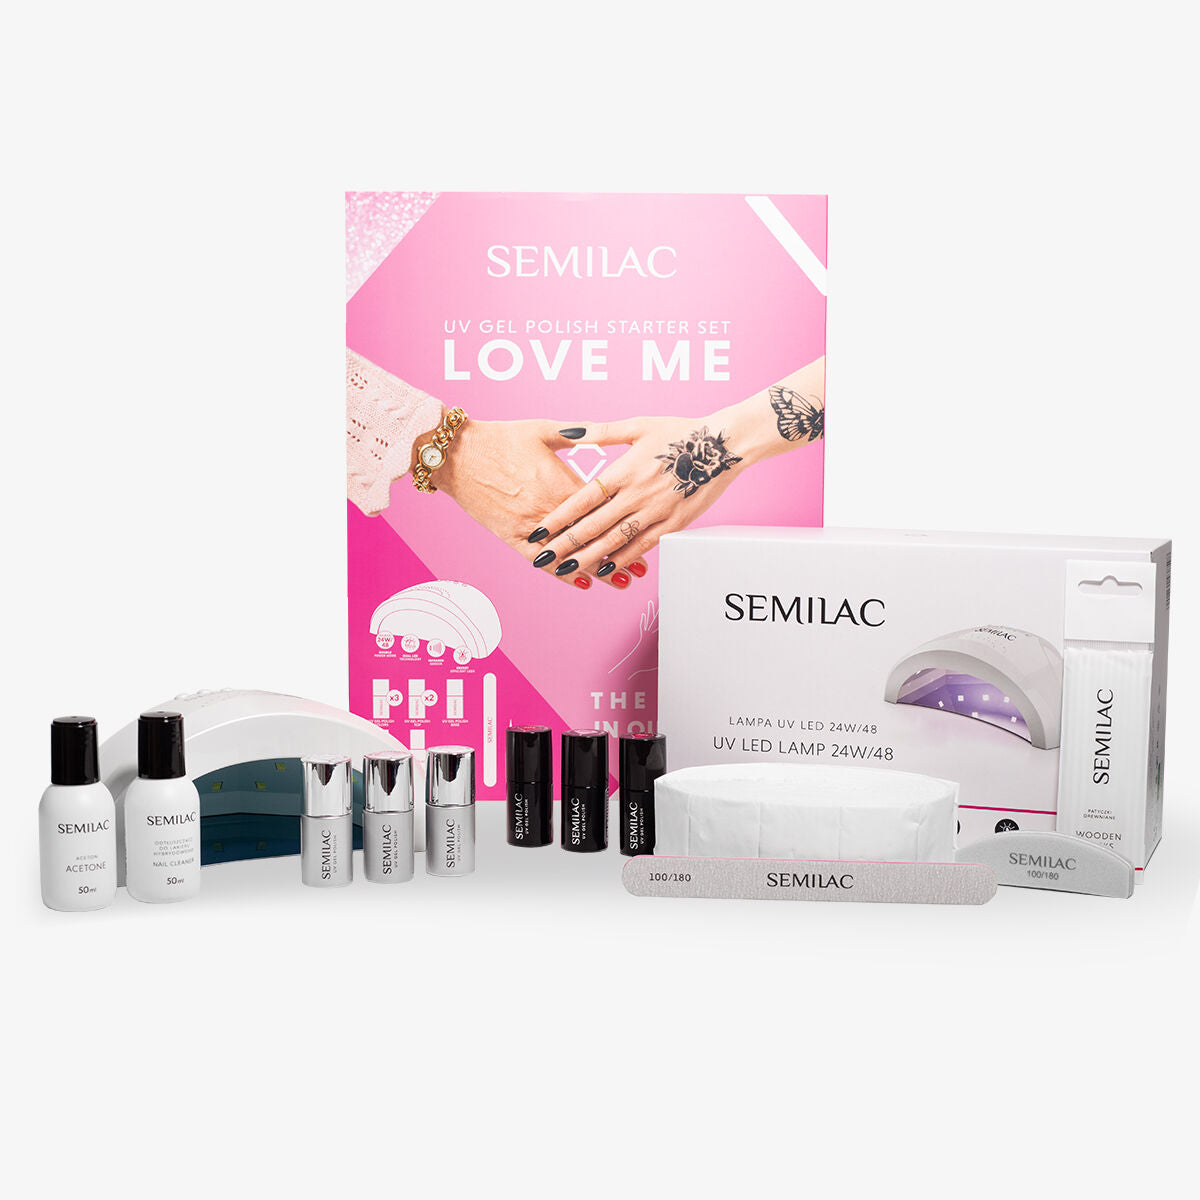
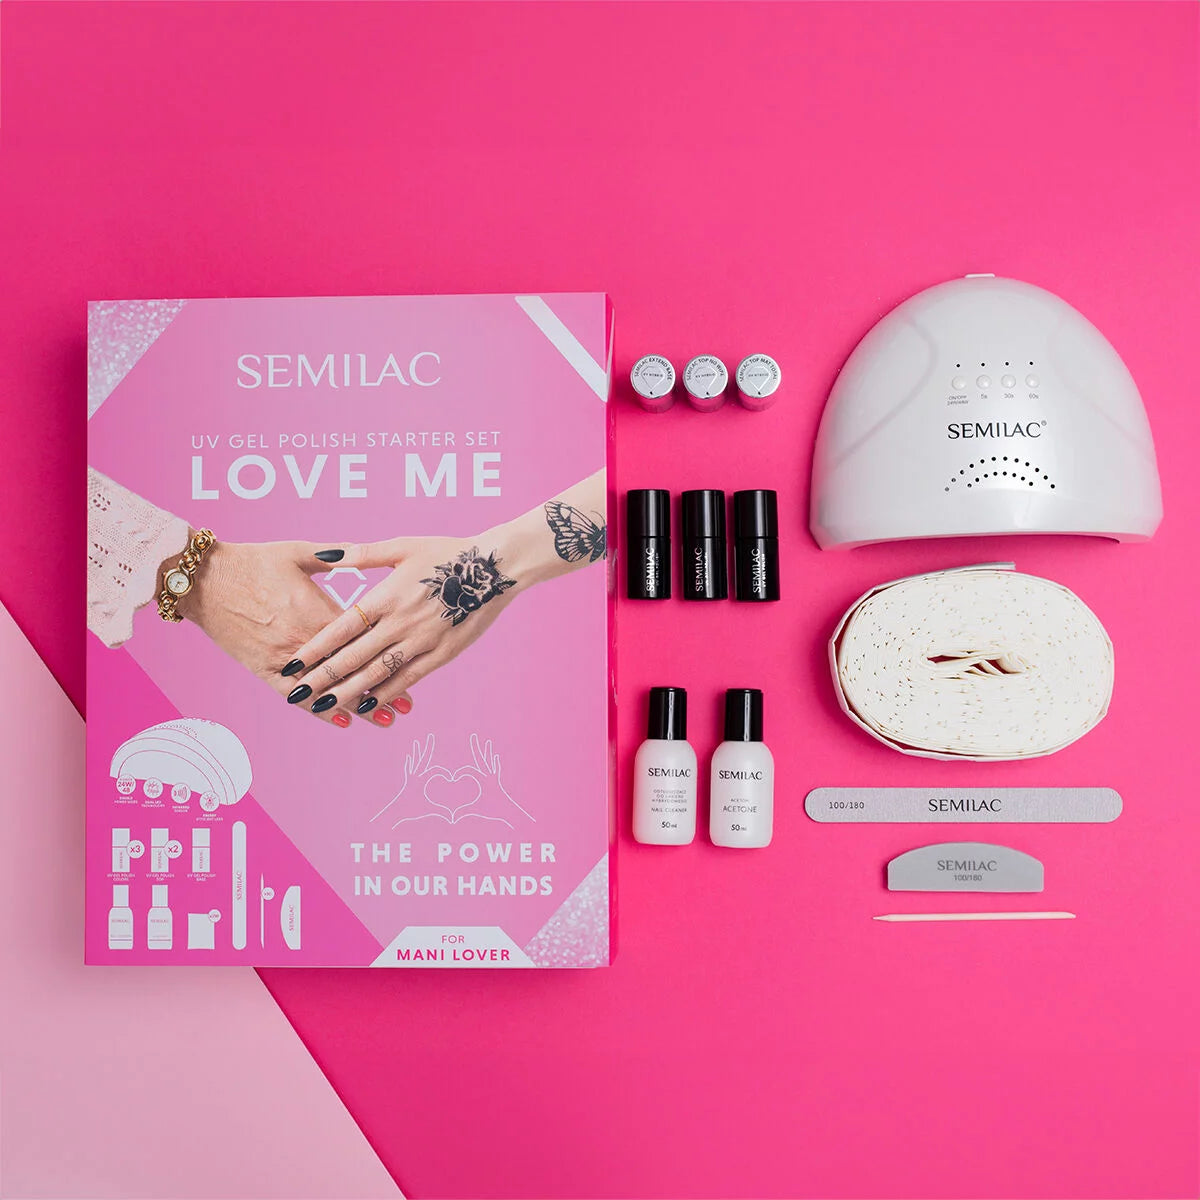
2. Invest in the Right Tools
You don’t need a professional kit to begin with, but a few basic tools can make all the difference.
Starter essentials:
-
Thin detailing brush
-
Dotting tool (or a bobby pin as a substitute)
-
Nail art stickers or stamping plates (optional but handy)
-
UV lamp for curing each layer

3. Master Simple Techniques First
Start with easy designs before moving on to more complex artwork.
• Dots and Polka Dots
Use a dotting tool or the end of a brush to create uniform dots. Try placing them randomly or in patterns.
• Stripes and Lines
A thin brush helps you create clean vertical, horizontal, or diagonal lines. Try a double-stripe look for a modern touch.
• Accent Nails
Begin by decorating just one or two nails per hand – a stylish way to ease into nail art without feeling overwhelmed.
Style idea: Try a nude base with gold dots or a pale pink with thin white stripes for a fresh, minimal look.

4. Add Fun with Stickers and Stamps
If hand painting seems tricky, start with nail stickers or stamping plates for instant art. They’re quick, easy to apply, and perfect for beginners who want a polished look without freehand skills.
How to use:
-
Apply your UV gel colour and cure.
-
Add your sticker or stamp design.
-
Seal with a top coat and cure again.

5. Don’t Forget the Top Coat
A UV top coat not only adds shine but also protects your design from chips and wear.
Finish tip: Use a no-wipe top coat for a high-gloss finish or try a matte top coat for a modern twist.
Extra tip: Be sure to cap the free edge of each nail to seal the design fully.

Bonus: Practice Makes Perfect
Like any art form, nail art takes patience and repetition. Don’t be discouraged if your first few attempts aren’t flawless. With time, your skills and confidence will grow.
Final Thoughts
Creating perfect nail art as a beginner is all about mastering the basics and finding what styles you love most. With UV gel polish, you can enjoy long-lasting results and experiment with a variety of looks, from subtle to bold. So grab your tools, pick your colours, and start designing – your perfect manicure is just a brushstroke away!