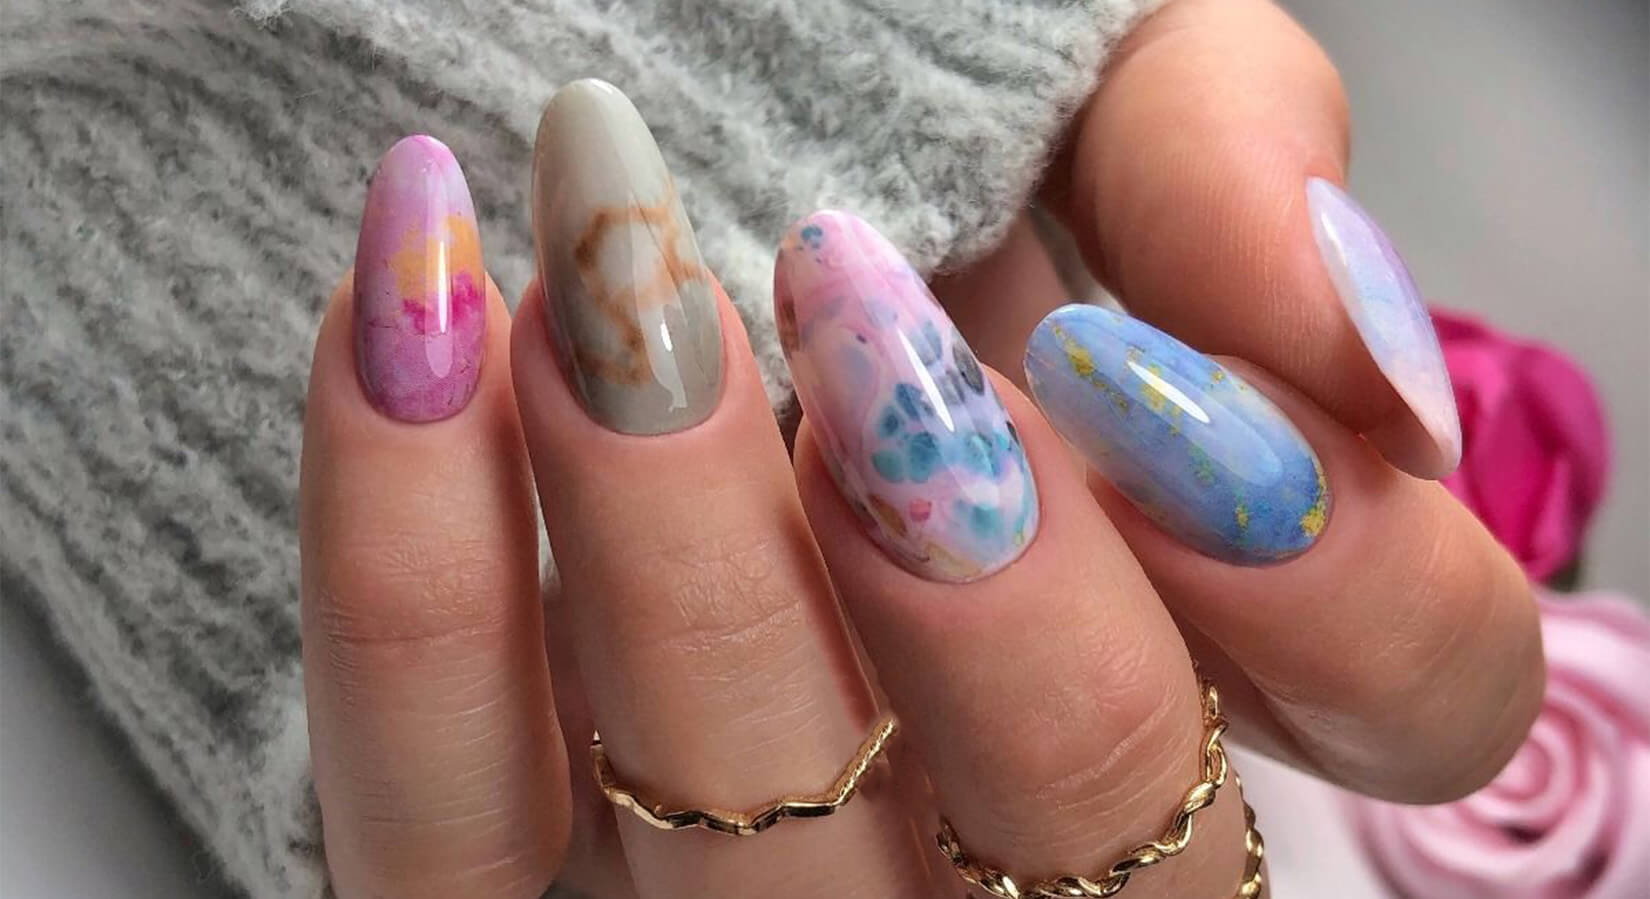
Marble nails have been making waves in the beauty industry for quite some time, thanks to their unique and eye-catching design. Originating from the concept of marbling in art, where no two designs are exactly alike, the marble nail trend embodies individuality and creativity. Not only are they aesthetically pleasing, but they are also easier to achieve than one might think. This blog post will provide a comprehensive step-by-step guide to creating your own marble nails at home, plus a list of everything you'll need to get started.
Materials Needed
Before you dive in, it's important to gather all the necessary tools. Here's what you'll need:
- Base Coat: To protect your natural nails and ensure the longevity of your marble design.
- White Nail Polish: As a base color to bring out the vibrancy of your marble colors.
- 2-3 Nail Polishes: In colors of your choice for the marble effect. Preferably contrasting colors for a striking look.
- Top Coat: To seal in your design and add shine.
- A small bowl: Filled with room-temperature water.
- Toothpick or Dotting Tool: To create the marble effect.
- Nail Polish Remover: For clean-up.
- Cotton Swabs: For clean-up.
- Scotch Tape: To protect the skin around your nails from excess polish.
Step-By-Step Guide
Now, let's dive into the process:
Step 1: Preparation
Start by cleaning your nails thoroughly with nail polish remover to ensure they're oil-free. Apply a base coat to protect your nails and let it dry.

Step 2: Base Color
Apply a layer or two of white nail polish as your base color. This acts as a canvas, allowing your marble colors to stand out more vibrantly. Allow this to dry completely.

Step 3: Protection
To keep the skin around your nails clean, carefully apply scotch tape around each nail, leaving just the nail exposed.

Step 4: Creating the Marble Effect
Drip a drop of each polish into your bowl of room-temperature water. The polish should spread out. If it sinks, your water may be too cold or the polish too old. Quickly drop another color into the center of the first, and continue alternating colors until you have a few concentric circles of polish.
Using a toothpick or dotting tool, drag through the polish from the center outwards, creating a marbled pattern. Experiment with different directions and quantities of lines to create the look you want.

Step 5: Dipping the Nails
Position your nail over the design you like and dip it into the water nail-first. Keep the nail submerged.

Step 6: Clean up
While your nail is still submerged, use a toothpick or dotting tool to remove the excess polish from the water surface. Then, carefully remove your finger from the water.

Step 7: Repeat
Repeat steps 4-6 for each nail. Remember, no two nails will look exactly alike, and that’s part of the charm of marble nails.

Step 8: Top Coat
Once all your nails are dry, seal your design with a top coat. This will also give your nails a glossy finish.

Step 9: Final Clean Up
Use a cotton swab dipped in nail polish remover to clean up any remaining polish on your skin.

And there you have it! Your very own marble nails. With practice, patience and creativity, you'll master this stunning nail art technique in no time. Marble nails offer an easy way to add a touch of sophistication.