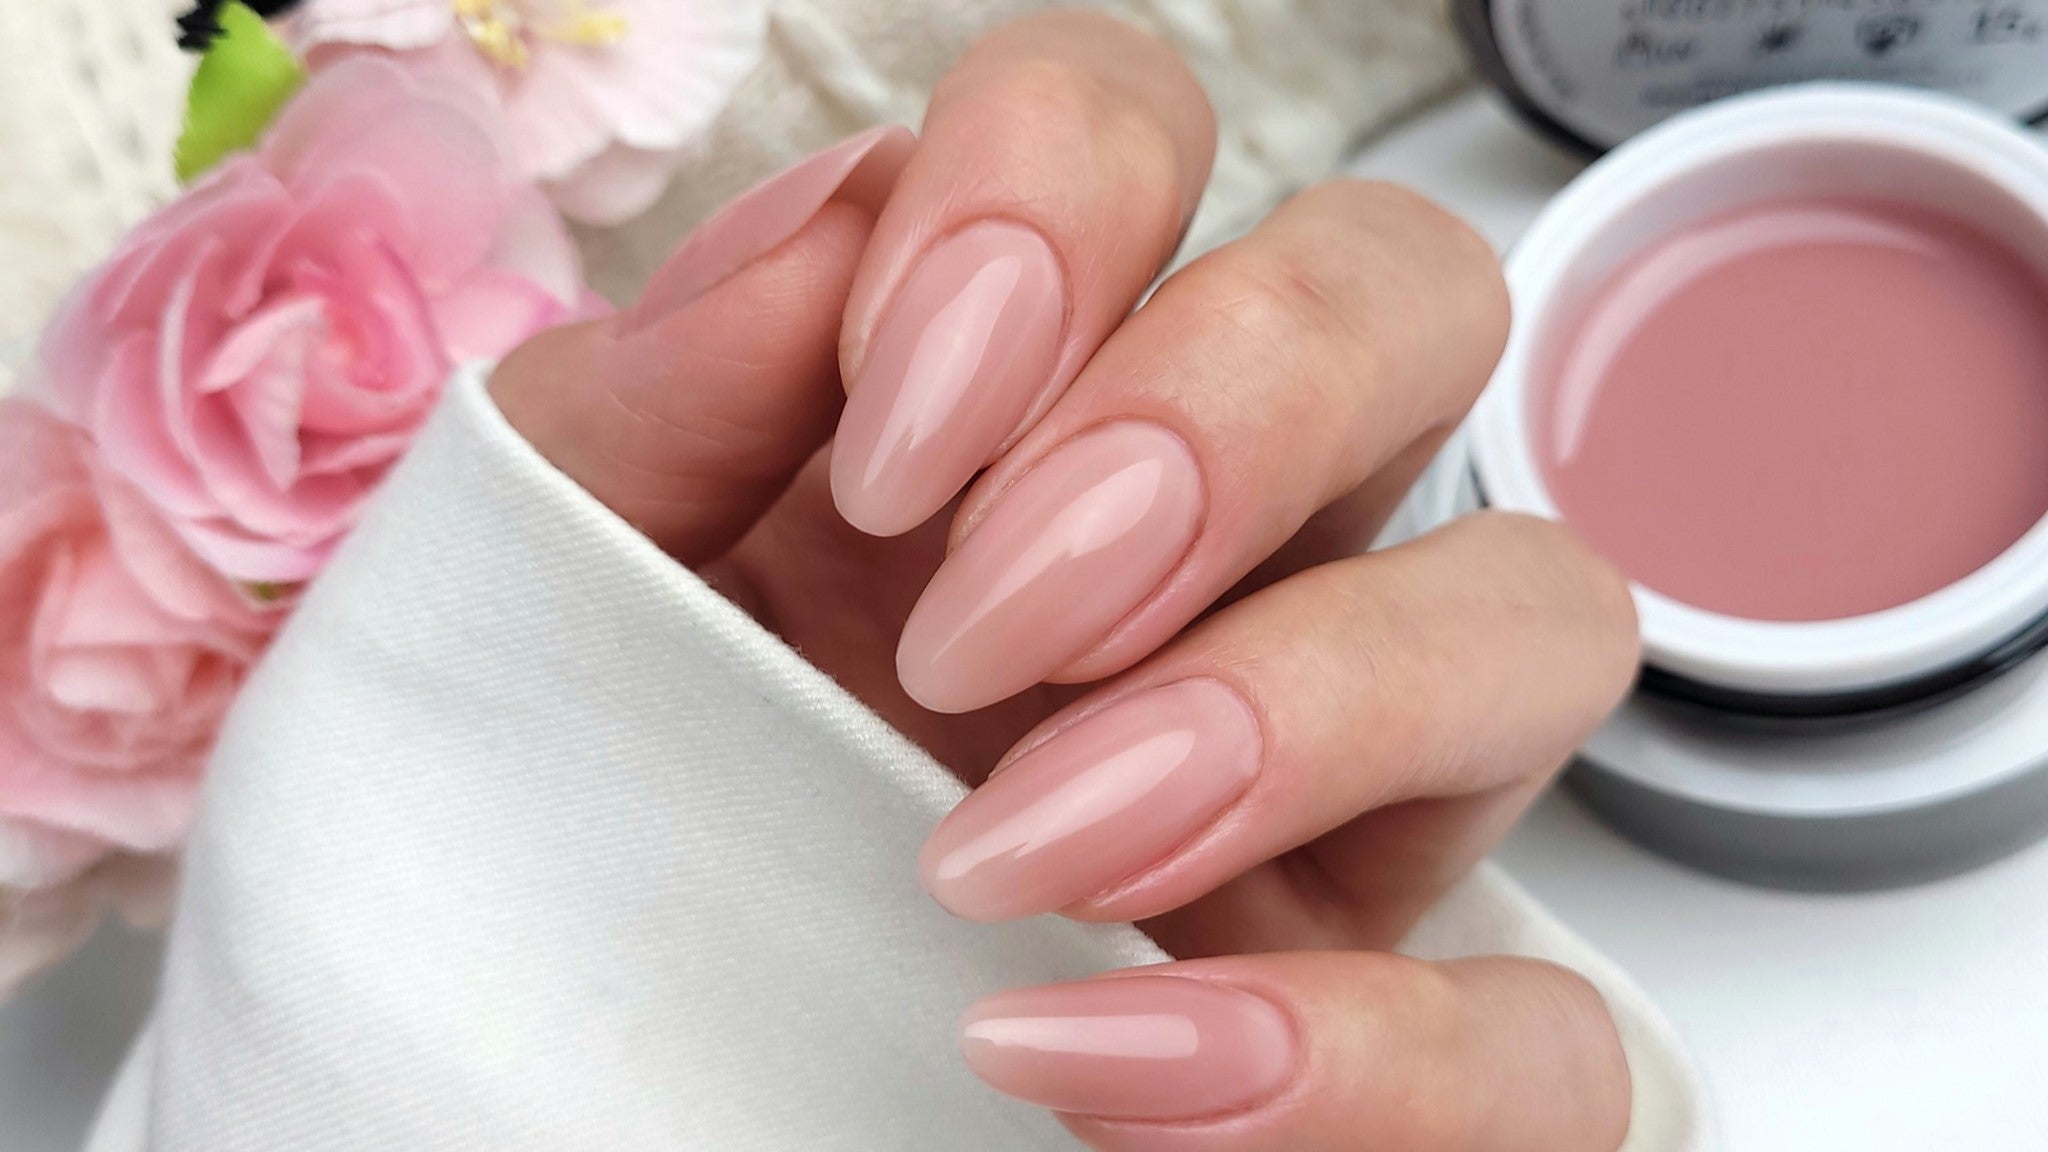
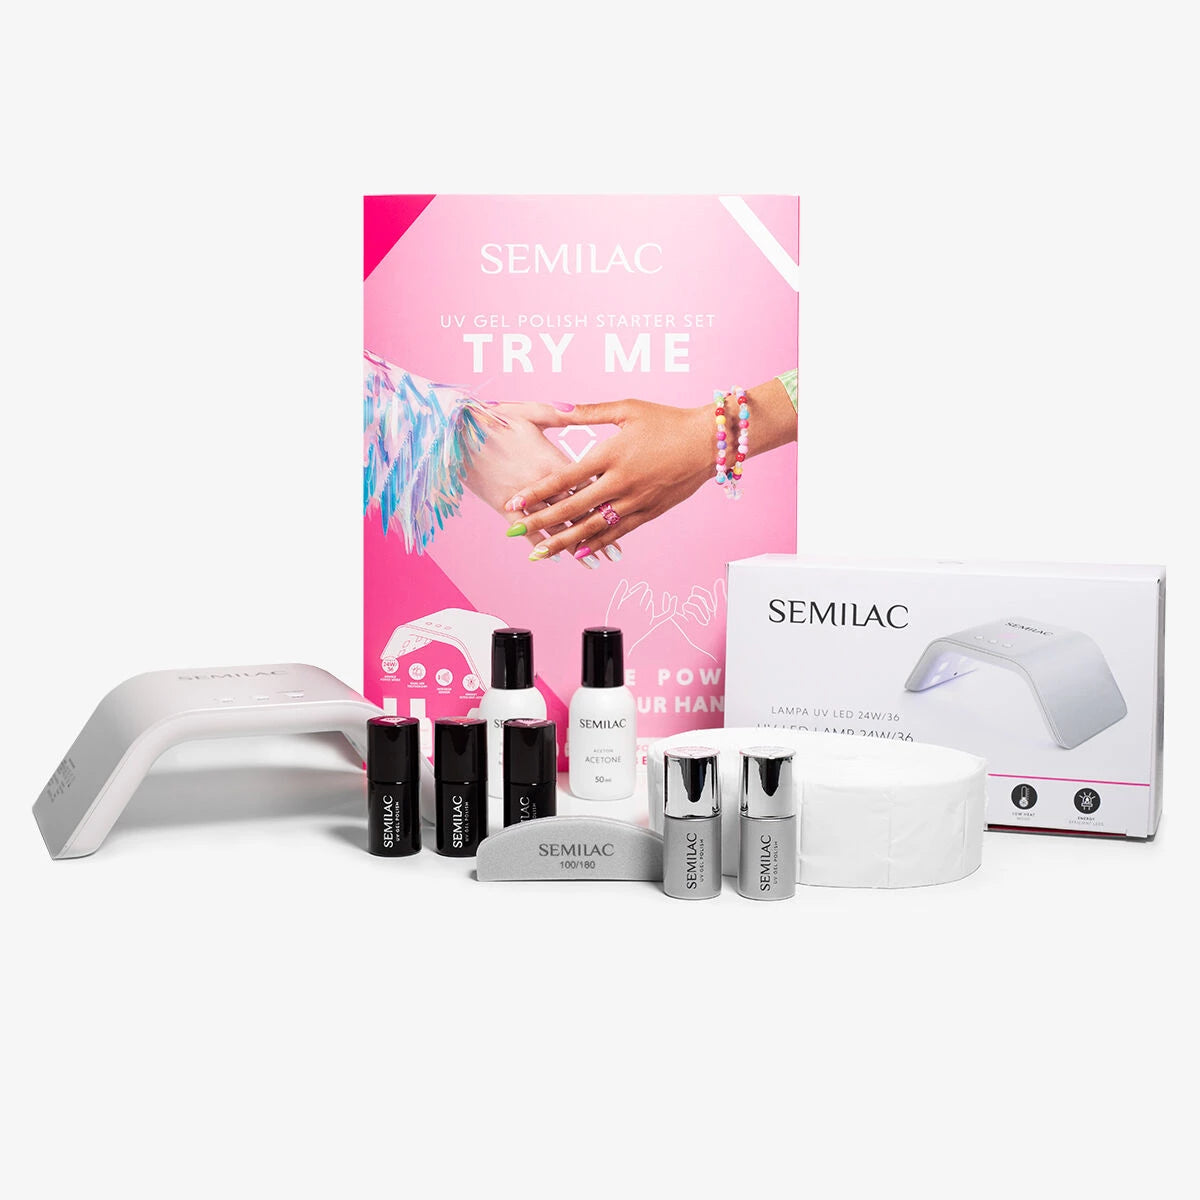
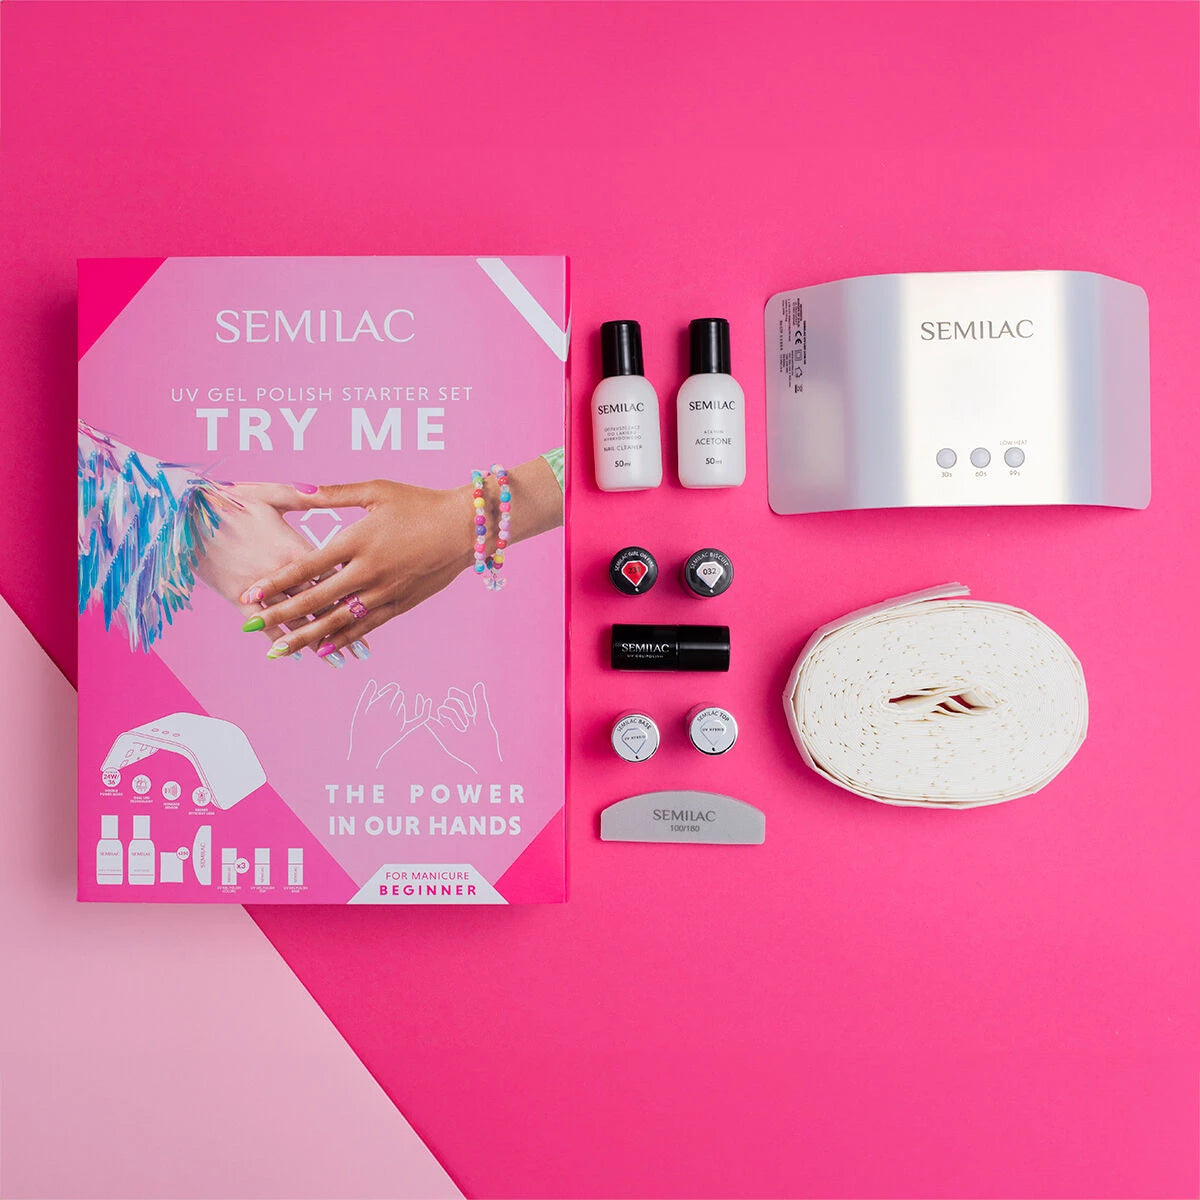
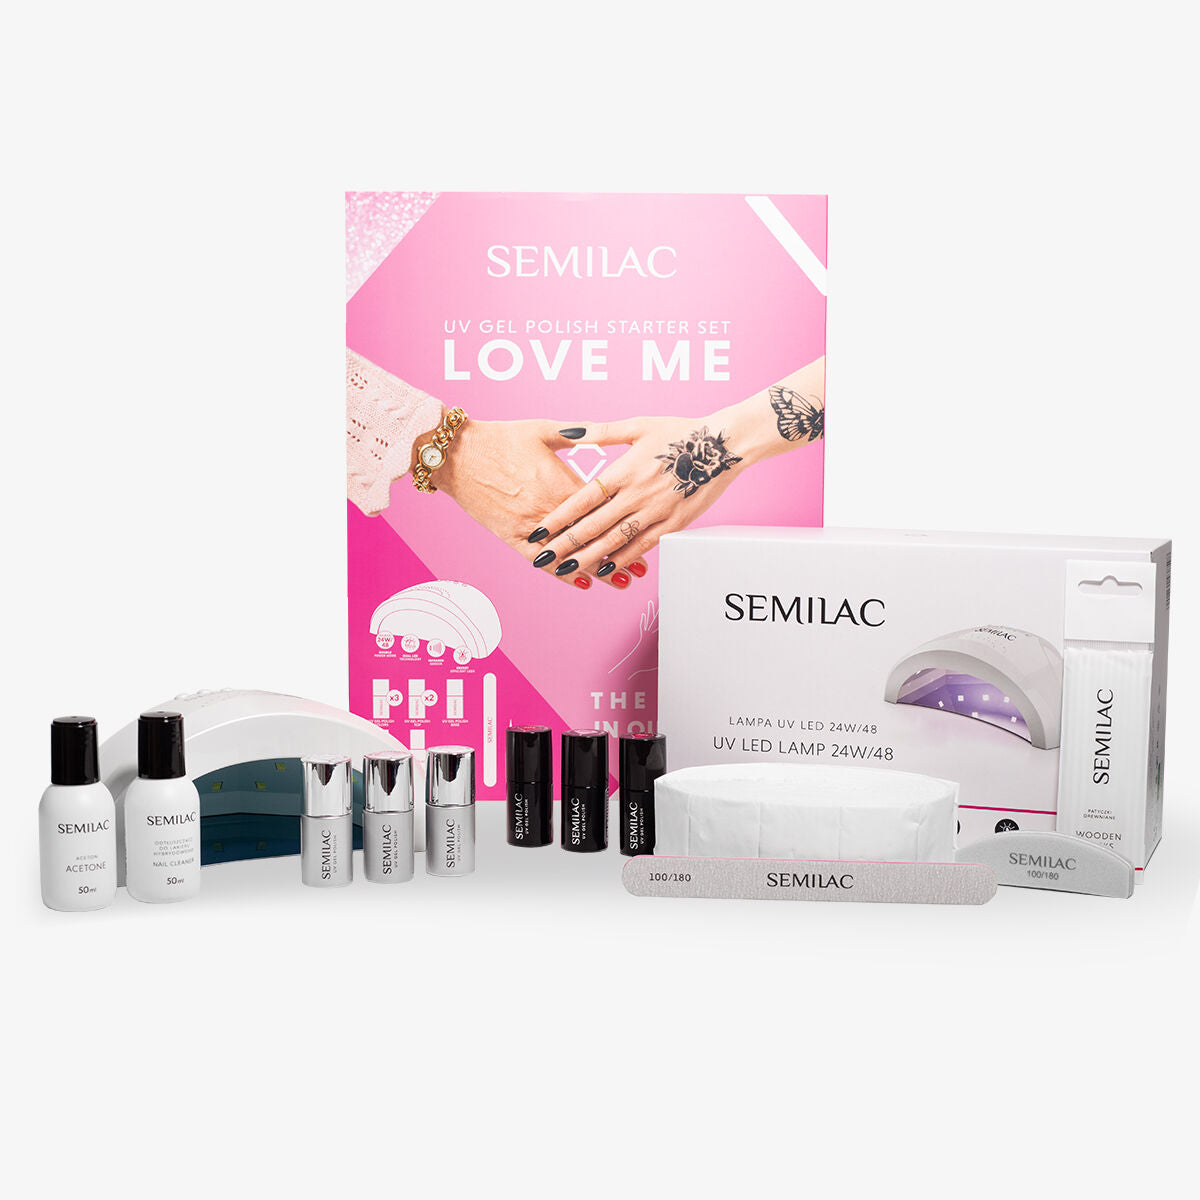
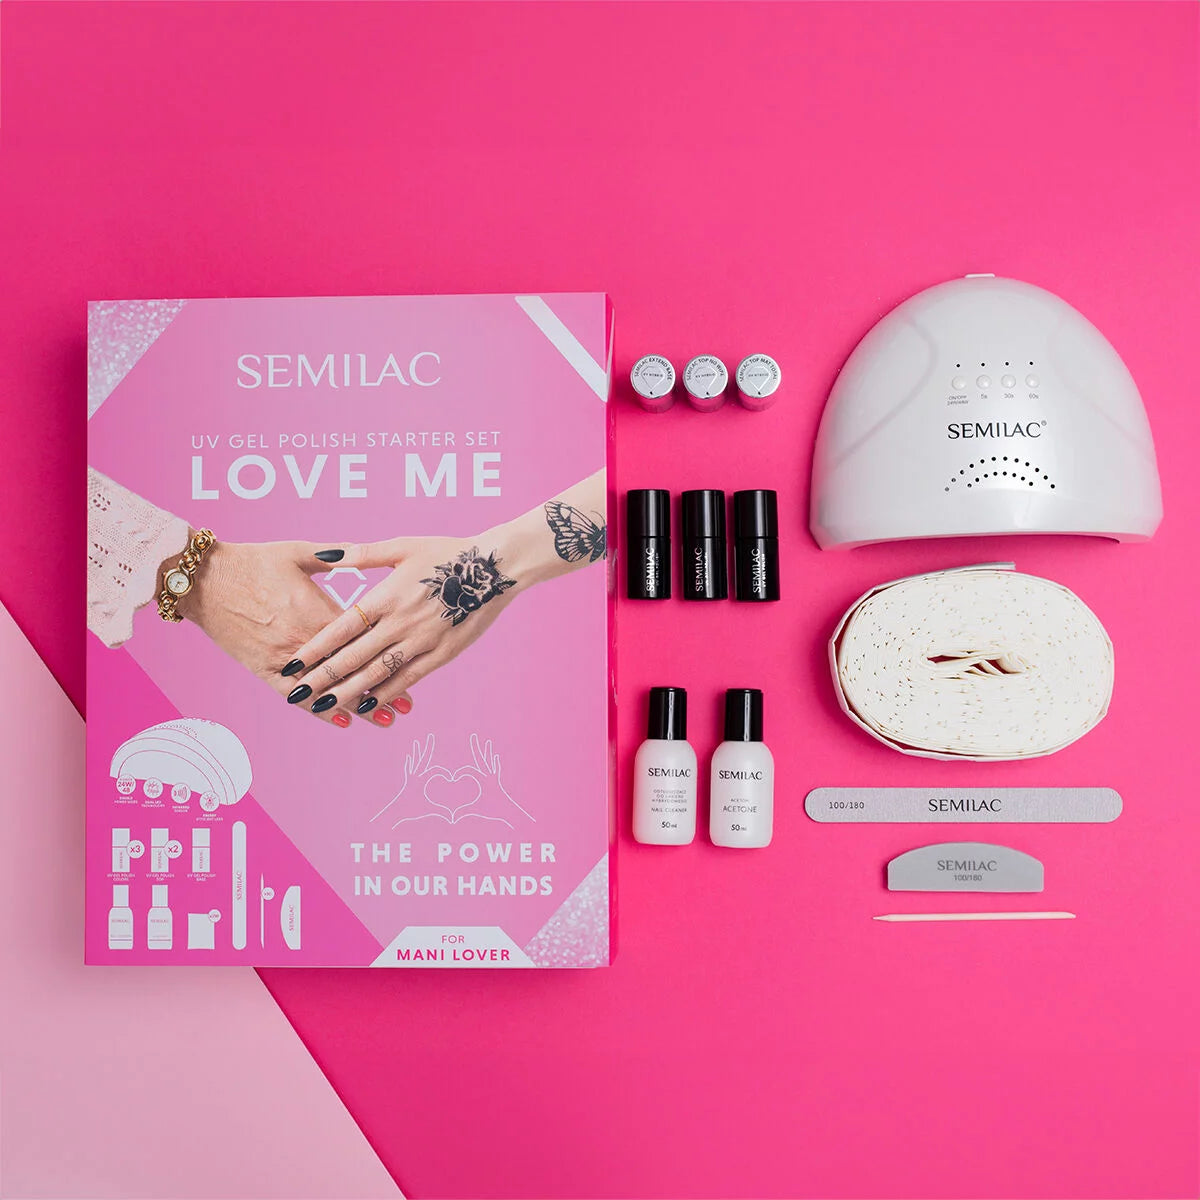
To enjoy a beautiful manicure whenever you feel like it, it's worth learning how to do it yourself at home. Contrary to appearances, it is not at all difficult. The key to success in this case is patience and exercise - but it is worth knowing what is needed to make gel nails on the move. In this blog, we will provide you with all the knowledge you need and suggest what is necessary to make a gel manicure. So, let's get started!
Gel manicure will allow you to enjoy beautiful nails for up to 3 weeks - provided that it is made with the use of professional products of the highest quality. It is not worth betting on cheaper substitutes of unknown brands, because not only can they contain ingredients that are not tested or even harmful to health, but they also never guarantee a satisfactory effect.

Gel Nails - what do you need?
Let's go through the whole process one by one, so that you know exactly what product or tool to use for what. The first step in a gel manicure is the proper preparation of the nail plate. You not only need to shape the nails with the nail files of the appropriate gradation, but also polish them with a polisher. To remove the cuticles, you can use nippers or scissors or, if you are more experienced, a nail drill with a suitable drill bit. Remember, accuracy is key at this stage. A well-prepared nail plate will allow the gel to stick better, which will significantly affect how long you will enjoy a beautiful manicure.
What else is needed to make gel nails? When the cuticles are removed and the nail plate is mattified, it's time to degrease it. For this purpose, you will use a dust-free cotton pad soaked in a cleaner. After, apply the primer on the nail, in the nail technician’s jargon it is called double-sided tape - it is this primer that allows the gel to stick firmly to the nail plate, and thus positively affects the durability of the manicure. You can buy the primer in two options: acid and acid-free. You should choose this by considering the condition of your nails. If you have ever done a gel manicure, use experience - if not, test! Each of us is different and the effects may vary depending on the specific characteristics of your nails.

What gels are needed for gel nails?
To create gel extension, you must first place a nail form under each free edge of the nail. It is true that the application of the form requires practice, but you will gain it only if you work on high-quality products and practice. Professional stickers also have even lines and markings necessary to work out the shape and length of the nails.
The gels you will use are very important - so only use products that you have full confidence in. At the beginning of a gel manicure adventure, your ally will be the one with a thicker consistency, because its application is a bit easier. You need a base coat to put it on. You will use a brush for efficient application. It's best to get two sizes to see which one will be more comfortable for you.

Wondering what else is needed? To harden the base, then the gel and the topcoat, you will have to use a suitable UV LED or UV lamp. The choice is yours! They both differ in strength and, hence curing time.
Remember it is good practice to take care of the cuticles - apply cuticle oil. You can also apply a hand peeling and nourishing cream to the entire hands. This will allow you to enjoy not only beautiful nails, but beautiful hands.

