If you've ever sat down on a Sunday morning, painted a fresh gel manicure, and watched the corner of one nail lift by Wednesday — you are not alone, and almost certainly didn't do anything dramatically wrong. Gel polish that chips early is nearly always a prep problem, not a polish problem. The colour rarely fails. The bond between your nail and the gel is what fails.
The good news: every cause of early chipping comes down to one of five prep steps that get rushed, skipped, or done in the wrong order. Once you fix them, the difference is dramatic — most people go from "chips on day three" to "still perfect at day fourteen" without changing a single product.

Mistake 1 — The nail plate isn't matted properly
Your natural nail has a slightly glossy, oily layer on the surface. Gel polish doesn't bond to gloss — it needs something to grip. Without a light buffing pass, you're essentially gluing a sticker onto a wet bathroom tile. It might hold for a day. It will not hold for two weeks.
The fix is unbelievably simple: one light pass with a 180-grit buffer block, no pressure, just enough to take the shine off. The surface should look matte and feel slightly chalky. That's it. Don't go further — over-buffing makes nails thinner, which causes a whole different chipping problem (more on that below).
Hold the nail to the light. If you can still see a glossy reflection, buff one more pass. If it looks uniformly dull, stop — you're done. There is no "more is better" with this step.
Mistake 2 — Hand cream, oil, or moisturiser before painting
This is the most common silent saboteur. You wash your hands, dry them, apply hand cream because your hands feel dry — and then thirty minutes later you sit down to paint. The cream is gone from the surface but a microscopic film of oil is left on the nail, and gel will not stick to oil.
The fix is a proper degrease. After you've finished prep but before you put down any product, wipe each nail with Semilac Nail Cleaner on a lint-free pad. Wipe from cuticle to free edge in one direction, and don't reuse the same pad for the next nail — you'll just put the oil back on. The nail should look completely dry and feel a tiny bit rough afterwards.

Nail Cleaner 125ml
Degreases · removes dispersion · no residue

Lint-Free Pads
No fibres · won't contaminate the matte surface
Mistake 3 — You're skipping primer (or letting it touch the cuticle)
Primer is the step most home users either skip entirely or mis-apply, and it's responsible for a lot of "the polish is fine, it just lifts at the cuticle" frustration.
An acid-free primer is a thin, fast-evaporating liquid that creates a chemical bridge between your nail surface and the base coat. Without it, the gel sits on top of the nail rather than bonding to it.
Two rules: apply it to the natural nail surface only (don't flood it onto your cuticle skin — you'll get lifting from the back end), and wait for full evaporation before you apply the base. The surface should look matte again, not wet. About 30 seconds is usually enough.
Mistake 4 — You're not capping the free edge
This is the difference between a manicure that lasts a week and one that lasts two-plus. Every layer — base, colour, top coat — needs to seal the very tip of the nail (the "free edge"), not just the top surface.
Picture a stack of paint sat on top of your nail like a flat lid: every time you knock the edge of your nail on something, that lid takes the impact and the bond at the tip is what gives way first. Now picture the same paint stack but it wraps around the front of your nail like a cap — there's nowhere for the gel to peel away from. That's capping.
To do it: after you've painted the top of the nail, run the brush vertically along the very tip of the nail, sealing the edge. It takes one extra second per nail and dramatically extends wear.
If you only cap the top coat, the base layer underneath isn't sealed and water can creep in from the underside. Cap base, colour, AND top coat. It becomes second nature after one or two manicures.
Mistake 5 — Wrong base coat for your nail type
This is the more advanced one — and the one most people don't realise is a thing.
If your nails are naturally on the thin or flexible side, a hard, rigid base coat will crack away from the free edge as soon as your nail bends (typing, opening a tin, anything). The product stays rigid; your nail moves; the bond breaks.
The fix is a flexible "rubber base" formula that bends with your nail plate. Semilac BB Base Nude and BB Base Rose are both rubber (caoutchouc) formulas designed for exactly this. They also work as cover bases — a slight tint that disguises any natural discolouration and gives a more uniform look under sheer pastels.
If your nails are naturally strong and don't flex much, a standard base is fine. Most people fall somewhere in the middle and benefit from a rubber base — it's the single biggest "I changed one product and my nails stopped chipping" upgrade you can make.
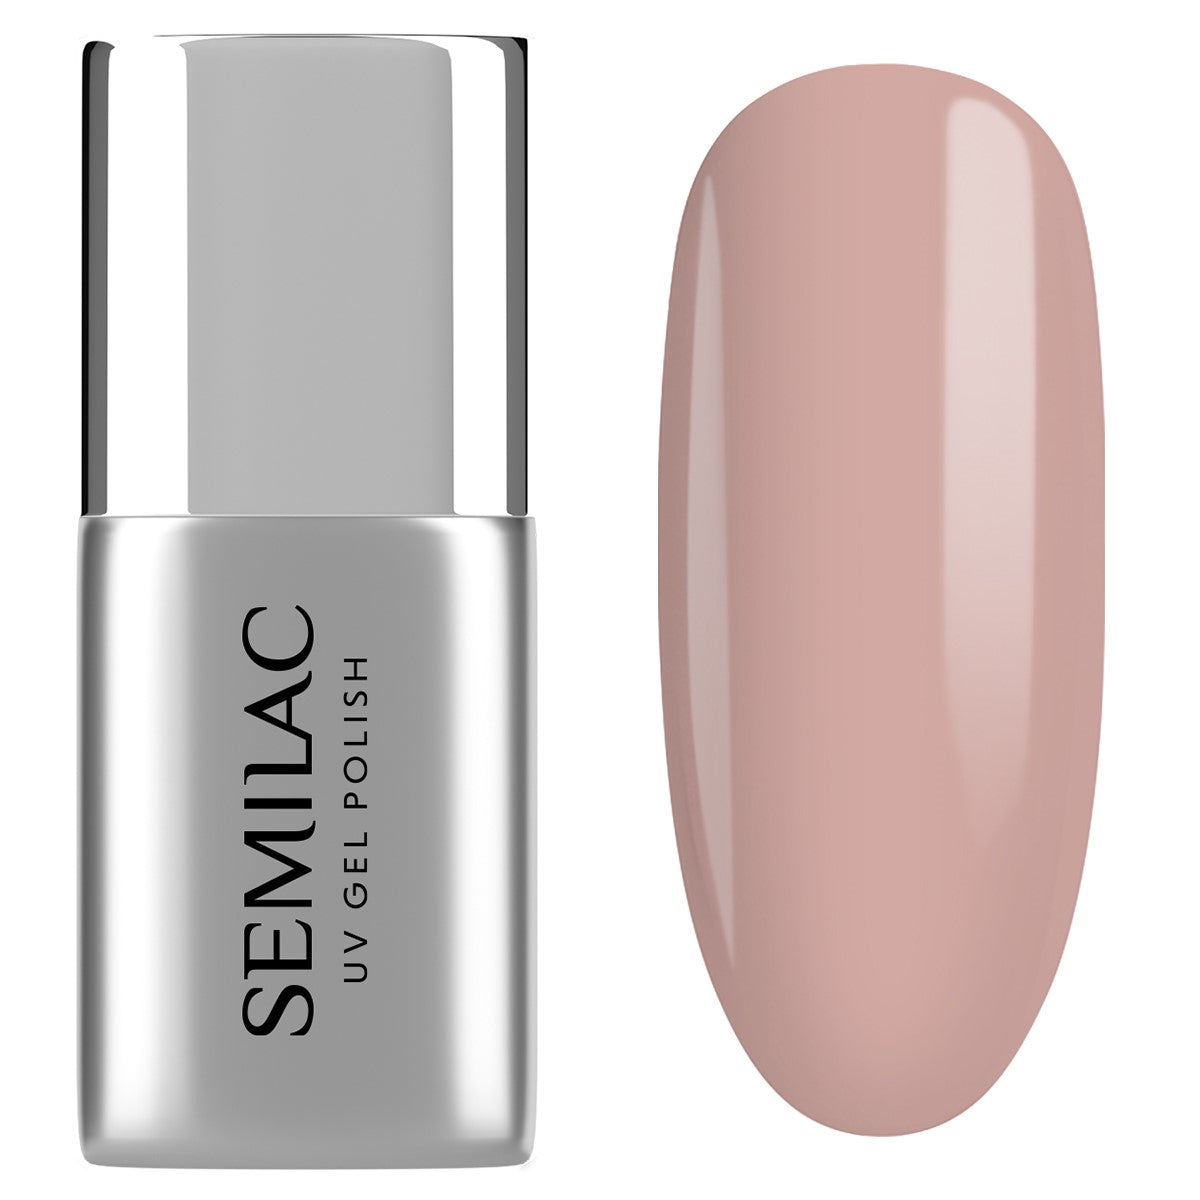
BB Base Nude
Rubber base · flexes with thin nails
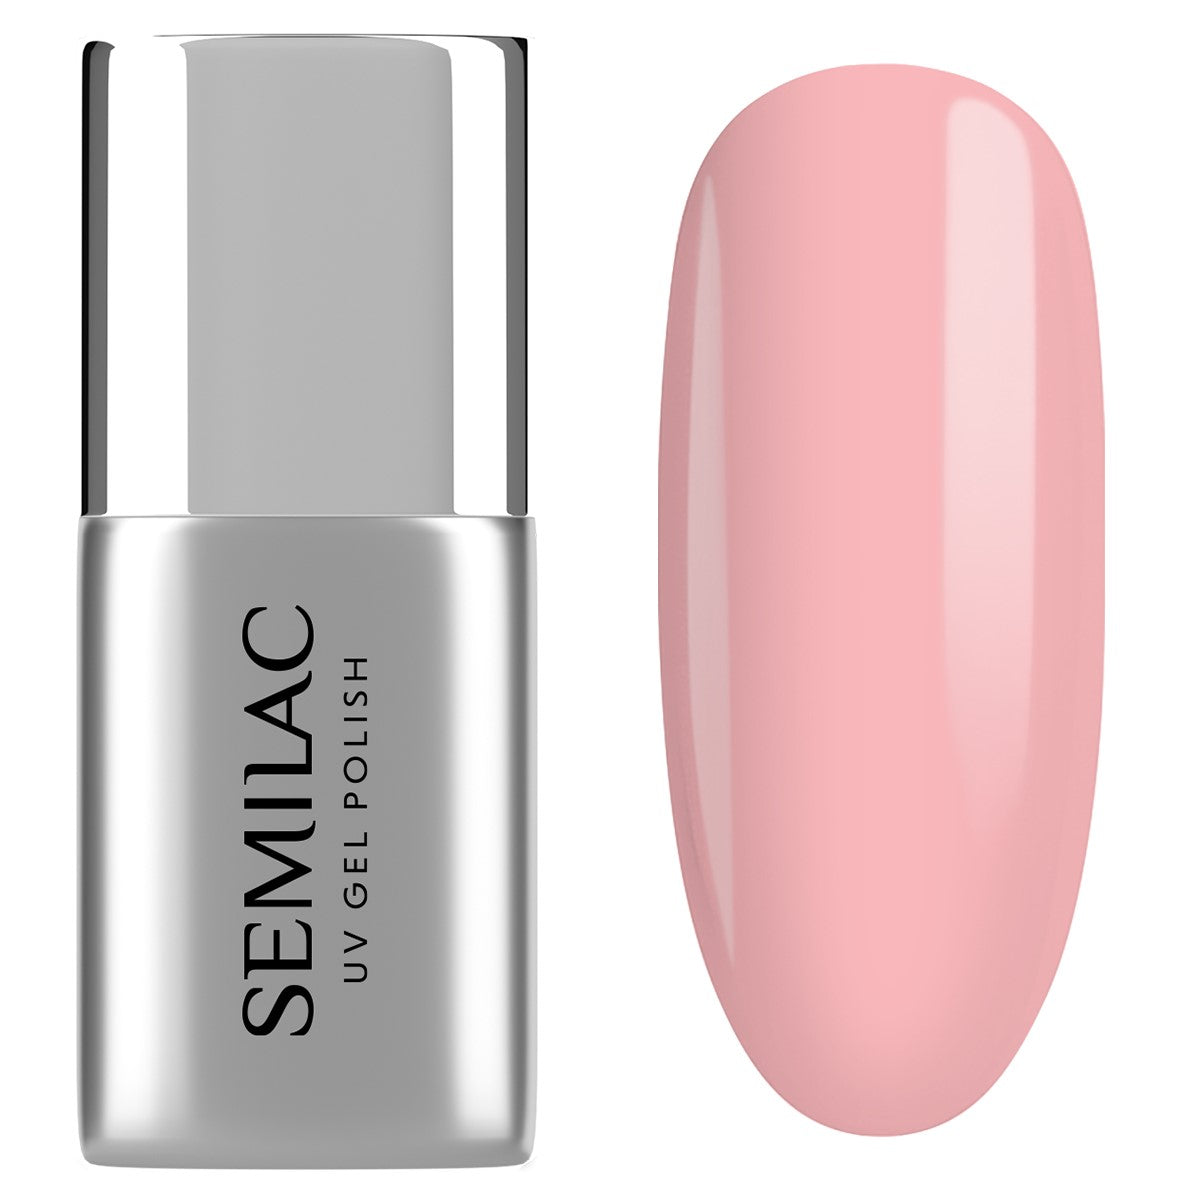
BB Base Rose
Same flexible formula · subtle pink tint
The right order — a quick refresher
- Push back cuticles gently with a wooden stick. No cutting on natural nails.
- Light file on the free edge to shape.
- One pass with a 180-grit buffer. Matte the surface, no more.
- Degrease with cleaner on a lint-free pad — fresh pad per nail.
- Acid-free primer — natural nail only, full evaporation.
- Base coat in a thin layer — cap the free edge — cure.
- Two thin coats of colour — cap each — cure each.
- Top coat — cap once more — cure fully.
- Cuticle oil at the end — and again every night before bed.
Frequently asked questions
How long should gel polish actually last?
With proper prep, expect two to three weeks. Three weeks is realistic. Anything less than ten days usually means a prep step has been skipped — most often degreasing or capping the free edge.
Why does my gel chip after just a few days?
Almost always a prep issue, not a product issue. The most likely culprits in order are: not capping the free edge, oily nails when applying base, and using a rigid base on flexible nails. Try the rubber base swap first — it fixes more chipping problems than any other single change.
Can hand sanitiser cause gel to chip?
It can dry out the cuticle and the surrounding skin, which makes the cuticle pull at the gel and lift it. Pair sanitiser with regular cuticle oil — a single drop per night before bed is enough.
Should I use the buffer or a file for prep?
Buffer (the soft, padded block) for the surface, file for the shape of the free edge. Don't swap — a file is too aggressive for the surface, a buffer can't shape an edge.
What's the difference between acid and acid-free primer?
Acid primers are stronger and used in salons on resilient nails. Acid-free primers (like Semilac's) are kinder to the natural nail and what we'd recommend for home use. Both create the bonding layer; acid-free is just gentler.
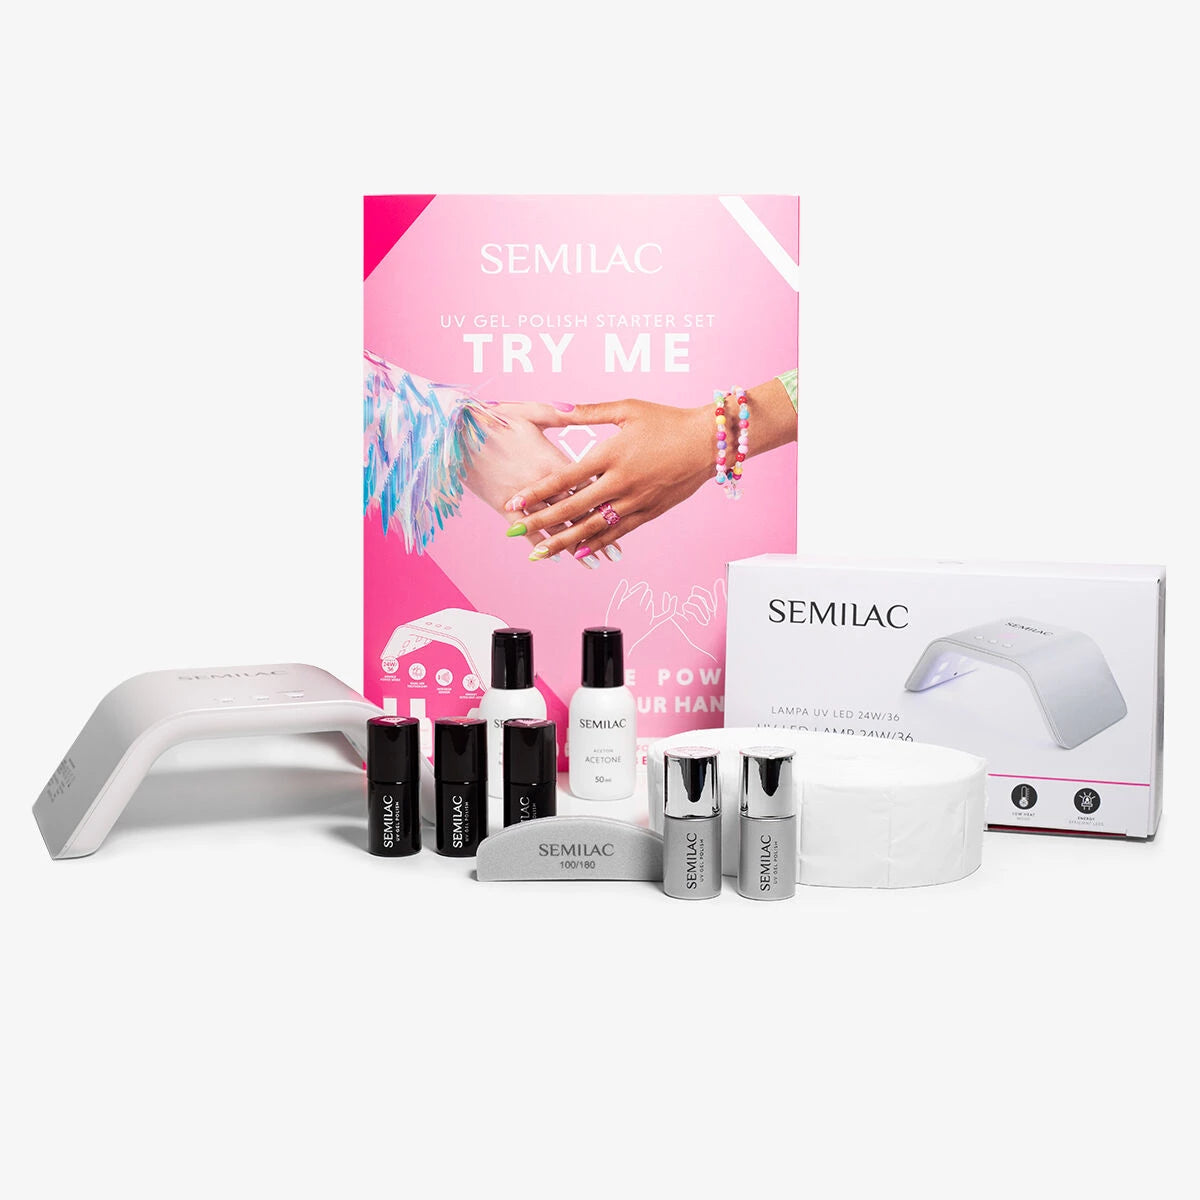
Try the swap
If you only change one thing, change to a rubber base coat — it's the highest-leverage upgrade for at-home gel manicures. Browse the full Semilac UK gel collection or start with the Starter Sets if you're putting together a complete kit. Free UK delivery on orders over £25.
Related reading: